搜尋
搜尋結果
搜尋Chili ,
共找到 6 筆
- 排序
- 依時間
- 依熱門度

工具
前瞻應用
學習
影片長度 - 7:34
此影片將教大家如何使用 Chili Board 完成遠端監控與資料存取應用。一步步教學完成從網路 IP 設定到遠端操控 Child Board 及內部資料存取的實例操作。
【步驟&時間軸】
00:00 Intro 簡介
00:31 網頁與開發板的互動範例
01:03 接下來設定網路 IP 位址
01:24 更改 PC 的 IP 位址
02:07 修改 Ubuntu 內部網路設定
02:39 測試網路是否通順
03:05 開啟 Chili Board 終端機介面
03:37 Web Server
04:15 遠端資料存取與監控的範例
04:48 修改 Ubuntu 內部網路設定
05:10 開啟終端機介面
05:37 使用跳線將 USB0_H 接地並且拔除 USB0_D
05:59 創建分享給開發板的資料夾
06:39 插入 USB Webcam
06:48 創建 nfs 資料夾
07:05 使用 Webcam 拍攝照片
【推薦觀看】
新唐 Chili Board – 開發板與平台介紹:https://youtu.be/tkYXZoYUY68
新唐 Chili Board (1) – 下載、編譯與燒錄教學:https://youtu.be/9W8HGrzjGZ8
#網頁與開發板互動範例
(1) 檢查開發板 Network File System Support 是否有開啟
(2) 輸入: linux-menuconfig
(3) 進入 configuration 選單
(4) 依序選擇 File Systems、Network File System
(5) 檢查以下選項是否開啟:
NFS client support
NFS client support for NFS version 2
NFS client support for NFS version 3
(如果有任意選項未開啟,則需要重新編譯後燒錄至開發板)
#設定網路IP位址
(1) 將開發板、PC 與 Ubuntu 設定為同一網域
(2) 將 Chili Board 網路孔與 PC 連接
(3) 在 Chili Board 終端機輸入: ifconfig
(4) 確認 IP 位址為 192.168.0.100
#虛擬機透過PC端網路連上網
(1) 將網路設定設為可連上網路的狀態
(2) 在 Ubuntu 上安裝 Network File System Server
(3) 虛擬機的部分需要先到 VMware Network Adapter
(4) Network Connection 選擇 NAT
#修改Ubuntu內部網路設定
(1) 從右上角進入 Wired Settings
(2) 將網路關閉為 OFF,點選齒輪進入設定
(3) 點選 IPv4,將 IPv4 Methoad 改為 Automatic (DHCP)
(4) 關閉後將網路開啟為 ON
(5) 設定完成後開啟終端機介面,輸入已下指令:
sudo apt-get install nfs-kernel-server rpcbind
此為安裝 Network File System Server 的套件
能將此 Ubuntu 虛擬機設為網路共享資料夾的主機
其他有安裝 Network File System Client 的套件的開發板經過一次設定後
都能存取特定資料夾
#創建分享給開發板的資料夾
(1) 於終端機介面創建資料夾
(2) 在 /home/user 底下輸入指令: mkdir -p nfs
(3) 創建完成後輸入以下指令更改設定檔: sudo gedit /etc/exports
(4) 將以下指令加進去:
/home/user/nfs 192.168.0.100(rw,sync,no_root_squash)
(5) 輸入以下指令,重啟 Network File System Server 加載剛剛的設定檔:
sudo /etc/init.d/nfs-kernel-server restart
#設定Network_File_System
(1) 在來到 mnt 資料夾下創建 nfs 資料夾 (與 Ubuntu 的 nfs 資料夾共享)
(2) 輸入以下指令完成設定 Network File System:
mount -o nolock -t nfs 192.168.0.102:/home/user/nfs /mnt/nfs
#使用Webcam拍攝照片
(1) 進入 nfs 資料夾
(2) 輸入以下指令使用 Webcam 拍攝照片: fswebcam -r 640x480 test.jpg
#NUC980 #NuMaker-RTU-NUC980 #Linux #IoT #物聯網 #遠端監控 #遠端資料存取 #RemoteMonitoring #RemoteControl #RTU #新唐科技 #Nuvoton #application #tool #learning #intermediate #zh-Hant
-
更多產品資訊,請至新唐科技網站 https://bit.ly/3hVdcmC
購買管道:https://direct.nuvoton.com/tw
聯絡我們: SalesSupport@nuvoton.com
#修改Ubuntu內部網路設定
#learning
#網頁與開發板互動範例
#遠端監控
#Remote control
#IoT
#RTU
#zh-Hant
#NuMaker-RTU-NUC980
#使用Webcam拍攝照片
#RemoteControl
#創建分享給開發板的資料夾
#設定Network_File_System
#設定網路IP位址
#NuMicro
#新唐科技
#虛擬機透過PC端網路連上網
#tool
#物聯網
#NUC980
#遠端資料存取
#Nuvoton
#Linux
#application
#RemoteMonitoring
#intermediate
#MCU
#Remote monitoring

前瞻應用
學習
影片長度 - 7:32
此影片將教各位從零開始使用 Chili Board,下載新唐提供的虛擬環境、BSP、Linux 環境設定、Image 編譯與燒錄、Chili Board 開機。基於新唐提供的開發平台,能有效縮短使用者在 Linux 的環境設定時間,直接進入開發應用程式的階段。
【步驟&時間軸】
00:00 Intro 簡介
00:23 下載 Linux 開發環境 VMware 虛擬機、NUC980 Linux V4.4 BSP
00:59 開啟 VMware 主程式
01:42 更新 Buildroot 工具
02:44 開發板的編譯設定
03:31 抓取 Image 檔
04:12 uboot 啟動參數
04:23 安裝 NuWriter 所需要的相關檔案
05:15 將開發板兩個 Micro USB 接上 PC
05:20 執行 NuWriter
05:34 打開 PuTTY
06:10 開始燒錄 Image
【Linux 開發環境 VMware 虛擬機】
https://www.nuvoton.com/resource-download.jsp?tp_GUID=SW1320200406183205
【NUC980 Linux V4.4 BSP】
https://www.nuvoton.com/resource-download.jsp?tp_GUID=SW1820200909165814
【更新 Buildroot 工具】
進入 Buildroot 資料夾後請輸入以下指令:
git reset --hard
git pull
更新完成後進入 dl 資料夾,先將既有的 linux kernel 與 u-boot 刪除,並輸入以下指令:
sudo rm -rf linux-master.tar.gz
輸入密碼 user,並輸入以下指令:
sudo rm -rf uboot-master.tar.gz
離開 dl 資料夾,進入 Builroot 資料夾下 make clean。
【開發板的編譯設定】
進入 configs 資料夾,找到開發板名稱後回到 buildroot,輸入:
make nuvoton_nuc980_chili_defconfig
產生預設的 configuration file,設定完成後輸入 make 開始編譯。
編譯完成後,點選左方檔案系統至各個地方抓取 Image 檔複製到 PC 資料夾,請參考以下路徑:
/NUC970_Buildroot-master/output/images/uImage
/NUC970_Buildroot-master/output/build/uboot-master/u-boot.bin
env.txt 則需要自己建立,此檔案為 uboot 啟動參數,請參考下方文字:
baudrate=115200
bootdelay=1
stderr=serial
stdin=serial
stdout=serial
setspi=sf probe 0 30000000
loadkernel=sf read 0x7fc0 0x200000 0x800000
bootcmd=run setspi;run loadkernel;bootm 0x7fc0
#Linux #IoT #工業物聯網 #物聯網 #NUC980 #ChiliBoard #NuMaker-RTU-NUC980 #NK-RTU980 #RTU #application #learning #intermediate #zh-Hant
-
更多產品資訊,請至新唐科技網站 https://bit.ly/3hVdcmC
購買管道:https://direct.nuvoton.com/tw
聯絡我們: SalesSupport@nuvoton.com

工具
學習
影片長度 - 4:1
新唐推出的 Chili Board 開發平台,支援豐富的軟硬體設備,不須額外安裝與編譯,設定完成後即可開發周邊應用程式。Chili Board 更專注在物聯網的開發環境上,支援各種網路通訊協議(SNMP、Web Server、HTTP(S))、雲端(Arm Pelion、AWS、Microsoft Azure、Aliyun)以及加解密引擎(PRNG、AES256、SHA, ECC、RSA2048),搭配新唐提供的 BSP 包,有效縮短開發時間。
#Linux #IoT #工業物聯網 #物聯網 #NUC980 #ChiliBoard #NuMaker-RTU-NUC980 #NK-RTU980 #RTU #Nuvoton #新唐科技 #NuMicro #Chili #tool #learning #basic #zh-Hant
-
更多產品資訊,請至新唐科技網站 https://bit.ly/3hVdcmC
購買管道:https://direct.nuvoton.com/tw
聯絡我們: SalesSupport@nuvoton.com

前瞻應用
學習
影片長度 - 4:3
The purpose of video is to demonstrate functions of NuMaker-RTU-NUC980 within 5 minutes, including Ethernet webserver, Wi-Fi webserver, USB camera, and NFS function.
If you get the NuMaker-RTU-NUC980 board, you can follow this video to implement all the functions
#application #learning #intermediate #en
-
For more information, please visit: https://bit.ly/3hVdcmC
Buy now: https://direct.nuvoton.com/tw/numaker-rtu-nuc980?search_query=Chili&results=1
Contact us: SalesSupport@nuvoton.com
前瞻應用
學習
影片長度 - 1:33
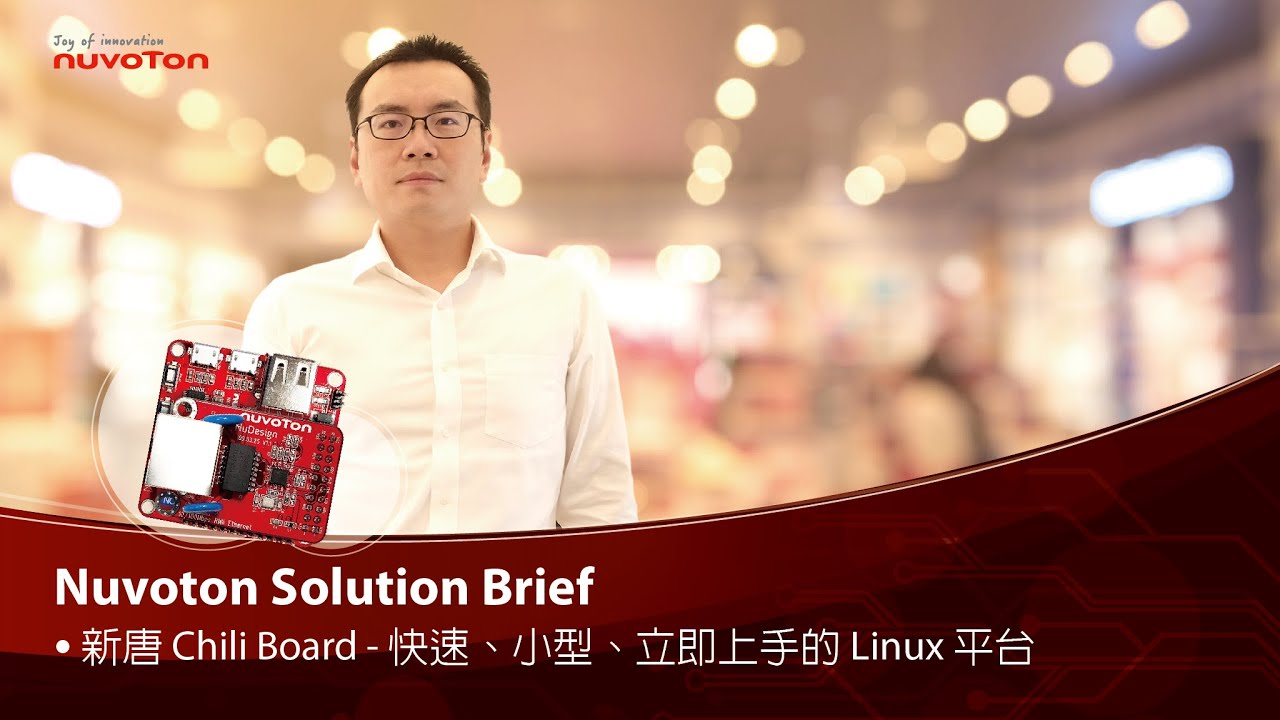
新唐全新推出小辣椒 (Chili) 開發平台,採用 NUC980 家族 IC 所設計,提供一個已經安裝 Linux 的平台,無須處理複雜的交叉編譯環境,僅需在 VMware 環境下執行 NUC980 的 BSP,即可於拿到板子 15 分鐘內進行應用程序的開發,由於體積小,安裝容易,可於開發完成後直接安裝在既有的系統中,進行聯網的操控及應用。
#application #learning #intermediate #zh-Hant
-
更多產品資訊,請至新唐科技網站 https://bit.ly/3hVdcmC
購買管道:https://direct.nuvoton.com/tw/numaker-rtu-nuc980?search_query=Chili&results=1
聯絡我們: SalesSupport@nuvoton.com

前瞻應用
學習
影片長度 - 1:30
Nuvoton provides a new development platform, Chili. Chili is designed by NUC980 family. A user can begin application developing within 15 minutes once receiving this PCB. This PCB is very small and can be easily installed into another system after development complete. It is suitable for some remote control or IoT applications.
#application #learning #intermediate #en
-
For more information, please visit Nuvoton Technology Website: https://bit.ly/3hVdcmC
Buy now: https://direct.nuvoton.com/tw/numaker-rtu-nuc980?search_query=Chili&results=1
Contact us: SalesSupport@nuvoton.com
 粤公网安备 44030502010001号