搜寻
搜寻结果
搜寻sensor ,
找到 2 笔
- 排序
- 依时间
- 依热门度

前瞻应用
学习
视频长度 - 3:9
以新唐 NuMaker-IoT-M263A 为平台,使用 Mbed OS 进行开发,学习各种功能。观看本片,您将学习使用 NuMaker-IoT-M263A 开发板配合 Mbed OS 控制环境传感器,显示温度、湿度和气压等数据。
#Application #Intermediate #Learning #zh-Hans
-
更多产品资讯,请至新唐科技网站 https://www.nuvoton.com/?utm_source=bb&utm_medium=video&utm_campaign=all
培训
工具
学习
视频长度 - 3:25
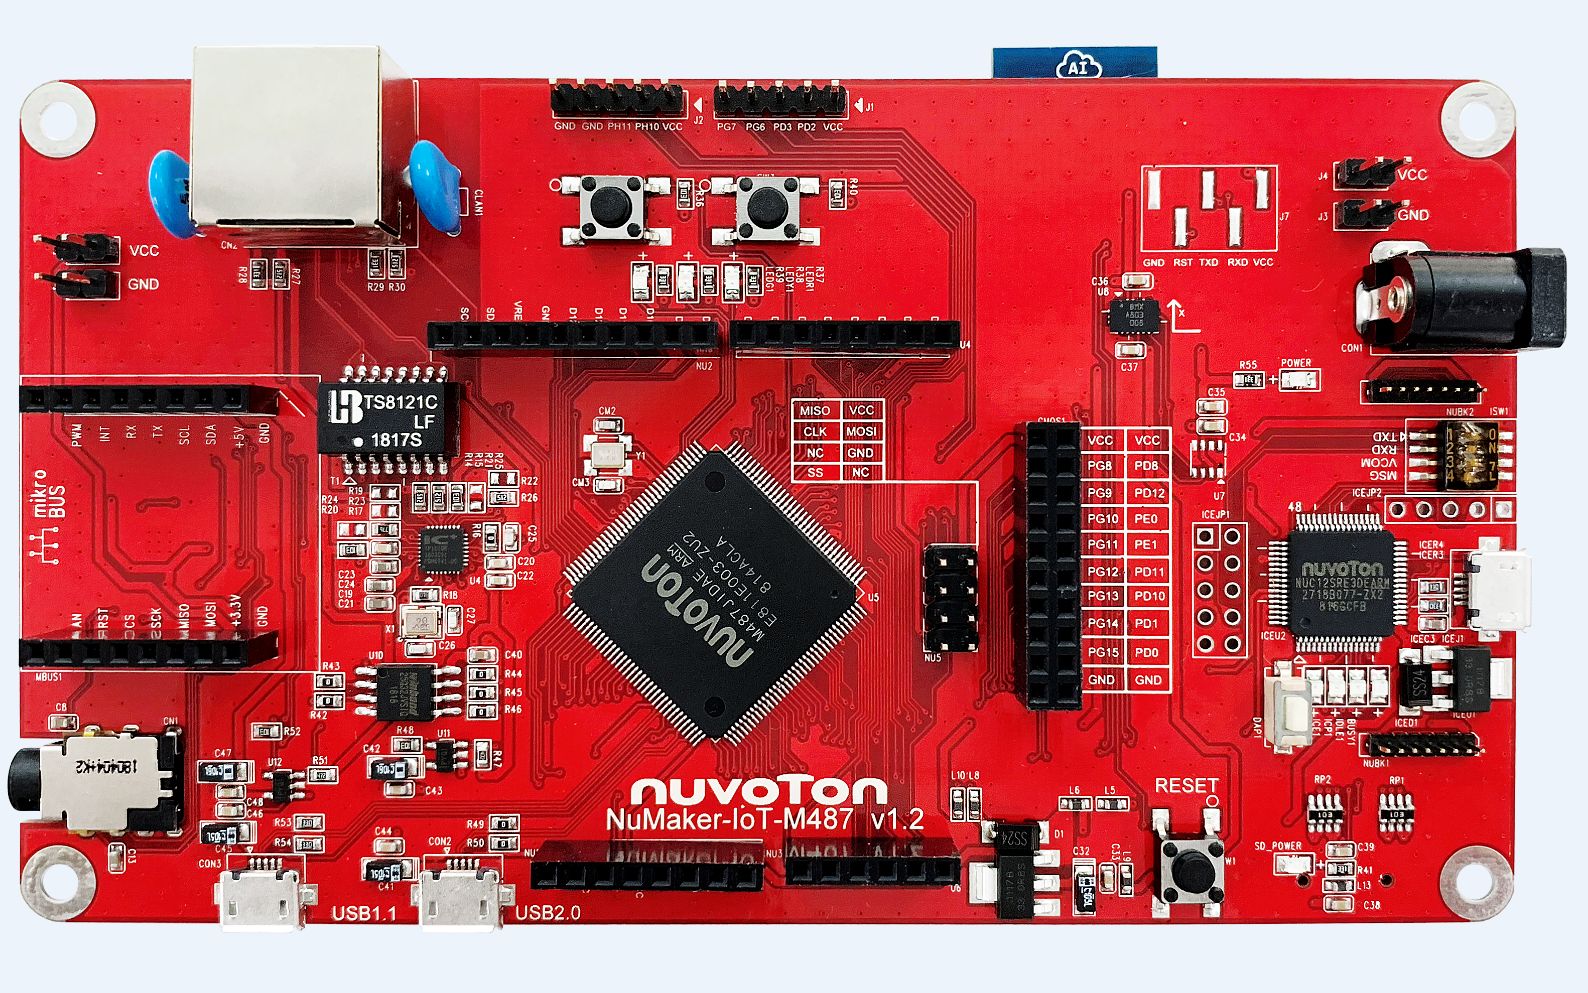
以新唐 NuMaker-IoT-M487 与 AliOS Things 为平台进行开发,学习开发各式功能。观看本片,您将学会如何以 AliOS Things 范例程式读取九轴感测器功能。
-
更多产品资讯,请至新唐科技网站 https://www.nuvoton.com/?utm_source=bb&utm_medium=video&utm_campaign=all
购买管道:https://tmall.nuvoton.com/
#Tool #Training #Learning #Intermediate #zh-Hans
 粤公网安备 44030502010001号