Microcontrollers(641)
- 8bit 8051 MCUs(88)
- 8bit KM101 MCUs(27)
-
Arm Cortex-M0 MCUs(293)
-
M029G/M030G/M031G Series(9)

-
M031 Series(21)

-
M031BT Series(2)
-
M032 Series(16)
-
M032BT Series(2)
-
M071 Series(4)
-
M091 Series(4)
-
M0A21 Series(4)
-
M0A23 Series(4)
- NUC029 Series(12)
- Nano103 Base Series(3)
- Nano100/102 Base Series(19)
- Nano110/112 LCD Series(19)
- Nano120 USB Series(10)
- Nano130 Advanced Series(8)
- NUC100/200 Advanced Series(15)
-
NUC120/122/123/220 USB Series(38)
- NUC120LC1DN
- NUC120LD2DN
- NUC120LE3DN
- NUC120RD2DN
- NUC120RC1DN
- NUC120RE3DN
- NUC120VE3DN
- NUC122LC1AN
- NUC122LC1DN
- NUC122LD2AN
- NUC122LD2DN
- NUC122SC1AN
- NUC122SC1DN
- NUC122SD2AN
- NUC122SD2DN
- NUC122ZC1AN
- NUC122ZC1DN
- NUC122ZD2AN
- NUC122ZD2DN
- NUC123LC2AE1
- NUC123LD4AE0
- NUC123LD4AN0
- NUC123SC2AE1
- NUC123LC2AN1
- NUC123SC2AN1
- NUC123SD4AE0
- NUC123SD4AN0
- NUC123ZC2AE1
- NUC123ZC2AN1
- NUC123ZD4AN0
- NUC123ZD4AE0
- NUC220LC2AN
- NUC220LD2AN
- NUC220LE3AN
- NUC220SC2AN
- NUC220SD2AN
- NUC220SE3AN
- NUC220VE3AN
- NUC121/125 Series(6)
- NUC126 USB Series(6)
- NUC130/230 CAN Series(14)
- NUC140/240 Connectivity Series(14)
- M051 Base Series(21)
- Mini51 Base Series(21)
- M0518 Series(4)
- NUC131/NUC1311 CAN Series(7)
- M0519 Series(5)
- M0564 Series(5)
-
M029G/M030G/M031G Series(9)
- Arm Cortex-M23 MCUs(77)
-
Arm Cortex-M4 MCUs(146)
-
M433 CAN/USB FS OTG Series(2)
- KM1M4BF Series(1)
-
M463 CAN FD/USB HS Series(7)
-
M467 Ethernet/Crypto Series(8)
-
M471 Series(6)
- M487 Ethernet Series(4)
- M485 Crypto Series(5)
- M484 USB HS OTG Series(5)
- M483 CAN Series(8)
- M482 USB FS OTG Series(14)
- M481 Base Series(11)
- M4TK Touch Key Series(6)
- M451 Base Series(10)
- M4521 USB Series(2)
- NUC442/472 Series(16)
- M452 USB Series(9)
- M453 CAN Series(10)
- NUC505 Series(7)
- M451M Series(6)
-
M433 CAN/USB FS OTG Series(2)
- Arm Cortex-M7 MCUs(3)
- 32bit KM103 MCUs(6)
MOSFET(72)
-
Low On Resistance MOSFET for Li-ion Battery Protection(47)
-
12V-30V Nch Dual MOSFET(47)
- KFCAB21B10L
- KFCAB21C00L
- KFCAB21860L
- KFCAB21520L
- KFCAB21B50L
- KFCAB21890L
- KFCAB21770L
- KFCAB21260L
- KFCAB21B30L
- KFCAB21740L
- KFCAB21490L
- KFCAB21A50L
- KFCAB21350L
- KFCAB21830L
- KFCAB12004NL
- KFC6B21150L
- KFC6B21B70L
- FC6B21100L
- KFC4B21A30L
- KFC4B21210L
- KFC4B21280L
- KFC4B21220L
- KFC4B21080L
- KFC4B21320L
- KFC4A21300L
- KFC4B21300L
- KFC4B21330L
- KFCAB22370L
- KFC6B22160L
- KFCAB22510L
- KFC6B22500L
- KFC4B22180L
- KFC4B22270L
- KFC4B22690L
- KFC4B22670L
- KFC4B22830L
- KFCAB22014NL
- KFCAB22020NL
- KFCAB22630L
- KFCAB22620L
- KFCAB22680L
- KFCAB22900L
- KFC6B22100L
- KFC6B22220L
- KFC4B22070L
- KFC7P23440L
- KFCAB30029NL
-
12V-30V Nch Dual MOSFET(47)
- Low On Resistance MOSFET for Li-ion Battery Charging Control(5)
- Small Size MOSFET for Automotive Switching(10)
- Small Size MOSFET for General Switching(10)
Smart Home Audio(325)
- Audio SoCs(20)
- ISD ChipCorder(28)
- Audio Converters(37)
- Audio Amplifiers(20)
- Audio Enhancement(3)
-
Audio & Speech Controllers(217)
- NuVoice Series(4)
-
PowerSpeech Series(128)
- N584L020
- N584L030
- N584L031
- N584L040
- N584L041
- N584L061
- N584L080
- N584L081
- N584L120
- N584L121
- N588H061
- N588H061
- N588H120
- N588H170
- N588H250
- N588H340
- N588HP340(OTP)
- W584A011
- W584A016
- W584A017
- W584A021
- W584A022
- W584A025
- W584A031
- W584A032
- W584A035
- W584A041
- W584A042
- W584A045
- W584A051
- W584A052
- W584A061
- W584A062
- W584A065
- W584A071
- W584A075
- W584A081
- W584A085
- W584A100
- W584A120
- W584A151
- W584A171
- W584A191
- W584A300
- W584A340
- W584AP017(OTP)
- W584AP065(OTP)
- W584B010
- W584B015
- W584B016
- W584B020
- W584B021
- W584B030
- W584B031
- W584B040
- W584B041
- W584B052
- W584B062
- W584B070
- W584B080
- W584B100
- W584B120
- W584B150
- W584B170
- W584B190
- W588C003
- W588C006
- W588C009
- W588C012
- W588C015
- W588C020
- W588C025
- W588C030
- W588C036
- W588C041
- W588C046
- W588C051
- W588C056
- W588C061
- W588C071
- W588C081
- W588C101
- W588C121
- W588C150
- W588C170
- W588C210
- W588C260
- W588C300
- W588C350
- W588C400
- W588D003
- W588D006
- W588D009
- W588D012
- W588D015
- W588D020
- W588D025
- W588D030
- W588D035
- W588D040
- W588D045
- W588D050
- W588D055
- W588D060
- W588D070
- W588D080
- W588D100
- W588D120
- W588D150
- W588D170
- W588D210
- W588D260
- W588D300
- W588D350
- W588D400
- W588DF060(MTP)
- W588L020
- W588L030
- W588L035
- W588L040
- W588L050
- W588L060
- W588L070
- W588L080
- W588L100
- W588L121
- W588L150
- W588L170
-
BandDirector Series(48)
- N567G030
- N567G041
- N567G080
- N567G120
- N567G160
- N567G200
- N567G240
- N567G280
- N567G330
- N567H030
- N567H041
- N567H080
- N567H120
- N567H160
- N567H200
- N567H240
- N567H280
- N567H330
- N567HP330(OTP)
- N567K030
- N567K041
- N567K080
- N567K120
- N567K160
- N567K200
- N567K240
- N567K280
- N567K330
- N567L120
- N567L160
- N567L200
- W567C070
- W567C080
- W567C100
- W567C120
- W567C126
- W567C151
- W567C171
- W567C210
- W567C260
- W567C266
- W567C300
- W567C306
- W567C340
- W567C346
- W567C380
- W567C386
- W567CP260(OTP)
- ViewTalk Series(20)
- Peripheral Series(17)
- NuSpeech Series
- NSPxx Series
IoT Solution(20)
-
IoT Platform(18)
- NuMaker-IoT-MA35D0-A1
-
NuMaker-IoT-MA35D1-A1
- NuMaker-IoT-M2354
- NuMaker-RTU-NUC980(Chili)
- NuMaker-Server-NUC980
- NuMaker-IIoT-NUC980
- NuMaker-IIoT-NUC980G2
-
NuMaker-IIoT-NUC980G2D
- NuMaker-Tomato
- NuMaker-IoT-M487
- NuMaker-PFM-M487
- NuMaker-PFM-M453
- NuMaker-PFM-NUC472
- NuMaker-PFM-M2351
- NuMaker-IoT-M263A
- NuMaker-PFM-NANO130
- NuMaker-Brick
- NuMaker-Uni
- Alexa Connect Kit Platform
- IoT Engine Platform(1)
- Arduino Compatible Platform(1)
- LoRa Platform
M487KMCAN
-
 훈련 공부하다 Watch time - 9:51Take Nuvoton NuMaker-IIoT-NUC980 running Linux as the platform and learn how to develop various functions. Watch this video, you will learn how to use Ethernet to connect to AWS IoT service on NuMaker-IIoT-NUC980 board. - For more information, please visit Nuvoton Technology Website: https://bit.ly/3hVdcmC Buy now: https://direct.nuvoton.com/tw/numaker-nuc980-iiot Contact us: SalesSupport@nuvoton.com #Training #Learning #Intermediate #en
 -
 Watch time - 2:44Take Nuvoton NuMaker-IIoT-NUC980 running Linux as the platform and learn how to develop various functions. Watch this video, you will learn how to connect to network via Ethernet on NuMaker-IIoT-NUC980 board. - For more information, please visit Nuvoton Technology Website: https://bit.ly/3hVdcmC Buy now: https://direct.nuvoton.com/tw/numaker-nuc980-iiot Contact us: SalesSupport@nuvoton.com
 -
 훈련 도구 공부하다 Watch time - 8:28Develop with Nuvoton NuMaker-IoT-M487 and Mbed OS to learn various functions. You will learn from this video to use the NuMaker-IoT-M487 development board and Mbed OS to connect to Microsoft Azure IoT Hub service. #Tool #Training #Learning #Intermediate #en - For more information, please visit Nuvoton Technology Website: https://bit.ly/3hVdcmC Buy now: https://bit.ly/3bk0AD8 Contact us: SalesSupport@nuvoton.com
 -
 훈련 도구 공부하다 Watch time - 7:29以新唐 NuMaker-IoT-M487 為平台,使用 Mbed OS 進行開發,學習各種功能。觀看本片,您將學會使用 NuMaker-IoT-M487 開發板以 Mbed OS 與範例程式連接 Microsoft Azure IoT Hub 服務。 - 更多產品資訊,請至新唐科技網站 https://bit.ly/3hVdcmC 購買管道:https://direct.nuvoton.com/tw/numaker-iot-m487 聯絡我們:SalesSupport@nuvoton.com #Tool #Training #Learning #Intermediate #zh-Hant
 -
 훈련 도구 공부하다 Watch time - 5:53Hello everyone, I am Morgan, the principal engineer of Nuvoton Technology. Today, I will show you how to connect to AWS IoT service using MbedOS on NuMaker-IoT-M487 development board The sample code is on GitHub, the URL is https://github.com/OpenNuvoton/Mbed-to-AWS-IoT To avoid typos, use keyword “OpenNuvoton” to search on google. Find the Nuvoton on GitHub, and click it On the Nuvoton GitHub page, use AWS as keyword to search the sample code: Mbed-to-AWS-IoT Right click to copy the URL for later use. Then enter the URL https://ide.mbed.com After log in, make sure the NuMaker-IoT-M487 board has selected in the upper right corner. If not, please refer Nuvoton IoT Tutorial series “Get Started with Mbed OS”. There is detailed description of how to add a board. Click the “Import” on the left of menu bar. In the “Import Wizard”, click “Click here” Please paste or key in the sample code URL to “Source URL:”, Select Import as “Program” Click “Import Name”, the project name “Mbed-to-AWS-IoT” will be filled automatically. Then click “Import”. After sample code imported, click “mbed_app.json” to open it. To use Wi-Fi, you have to configure SSID and password to match your Wi-Fi AP setting. In NuMaker_IOT_M487 session of mbed_app.json file, find the “wifi-ssid” to set your SSID. It is at line 44. And then set password to “wifi-password”. It is at line 45. Save it and click “Compile” to build the code. It takes time to compile code, please wait. You need an AWS account to use AWS IoT Core service. To create a thing, a policy, and certificates, then put the certificate to MQTT_server_setting.h file in the sample code. The sample code has included a certificate provided by Nuvoton for test only, so that you can quickly operate this example. If you don’t have an AWS account, it is recommended that you apply for an account and use your certificates in the example to observe the connection status on AWS IoT console page. After completed, “Success” will appear in the compile output window. The browser downloads the binary firmware file directly after a successful compiling. It will be saved in a default download folder. In Chrome, you can click download file and select “Show in folder”. Then we connect the NuMaker-IoT-M487 USB port to your computer. Please find the virtual COM port assigned for NuMaker-IoT-M487 in Device Manager. In the tutorial, the “Nu-Link Virtual Com Port” is COMx. Then use your favorite terminal tool. Here we use Putty. Open the COMx port with 115200 baud rate. And no flow control settings. Then “Open” it. Back to the folder you just download the binary firmware file (Mbed-to-AWS-IoT.NUMAKER_IOT_M487.bin). Drag and drop the file to NuMicro MCU drive. You will see the copying progress dialog box. You can see the messages on terminal. The device has acquired IP address from Wi-Fi AP, then successfully connect to AWS IoT and subscribe a topic. Then press button (SW2) on board to send a message. You can see the message published to server and received a message from server. That’s all for this tutorial. Thank you for watching. Welcome to subscribe to our channel. If you want to get more information, please contact us “SalesSupport@nuvoton.com” - For more information, please visit Nuvoton Technology Website: https://bit.ly/3hVdcmC Buy now: https://direct.nuvoton.com/tw/numaker-iot-m487 Contact us: SalesSupport@nuvoton.com #tool #training #learning #intermediate #en
 -
 제품 애플리케이션 웨비나 Watch time - 59:3Developing IoT devices can be a painful process. In this webinar, you will learn how to develop an IoT enabled device quickly and easily with Nuvoton IoT platforms. We will cover IoT device system architectures, security consideration, development kits for different cloud services, and the latest practices to bring your IoT products time to market quickly. Speaker: UE00 Senior Product Marketing Manager, Harry Chen - For more information, please visit Nuvoton Technology Website: https://bit.ly/3hVdcmC Buy now: https://bit.ly/3bk0AD8 Contact us: SalesSupport@nuvoton.com #Product #Application #Webinar #General #en
 -
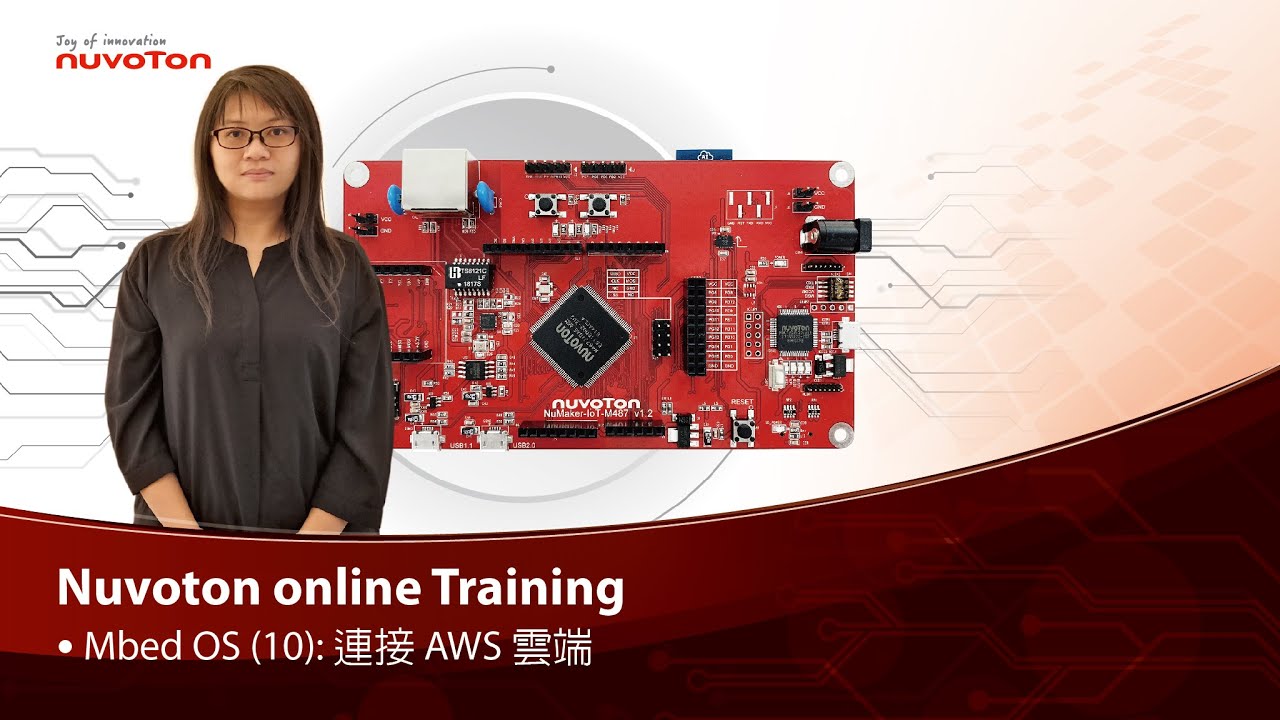 훈련 도구 공부하다 Watch time - 4:48以新唐 NuMaker-IoT-M487 為平台,使用 Mbed OS 進行開發,學習各種功能。觀看本片,您將學會使用 NuMaker-IoT-M487 開發板以 Mbed OS 與範例程式連接 AWS IoT 服務。 - 更多產品資訊,請至新唐科技網站https://bit.ly/3hVdcmC 購買管道:https://direct.nuvoton.com/tw/numaker-iot-m487 聯絡我們: SalesSupport@nuvoton.com #Tool #Training #Learning #Intermediate #zh-Hant
 -
 애플리케이션 공부하다 Watch time - 4:3The purpose of video is to demonstrate functions of NuMaker-RTU-NUC980 within 5 minutes, including Ethernet webserver, Wi-Fi webserver, USB camera, and NFS function. If you get the NuMaker-RTU-NUC980 board, you can follow this video to implement all the functions #application #learning #intermediate #en - For more information, please visit: https://bit.ly/3hVdcmC Buy now: https://direct.nuvoton.com/tw/numaker-rtu-nuc980?search_query=Chili&results=1 Contact us: SalesSupport@nuvoton.com
 -
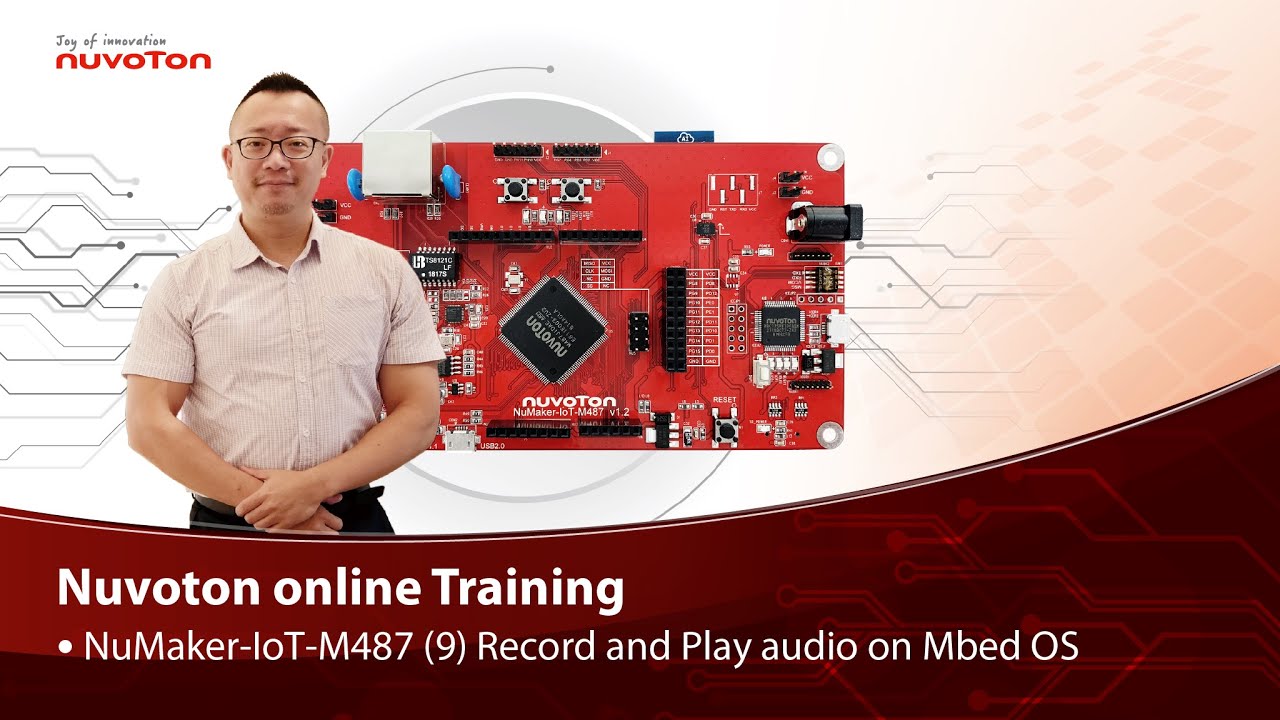 훈련 도구 공부하다 Watch time - 5:0Hello everyone, I am Morgan, the principal engineer of Nuvoton Technology. Today, I will show you how to record and play audio with Mbed OS on NuMaker-IoT-M487 development board. Open Chrome browser, and enter the URL https://ide.mbed.com to use the Mbed Online Compiler. After log in, make sure that NuMaker-IoT-M487 board already selected in the upper right corner. If not, please refer Nuvoton IoT Tutorial series “Get Started with Mbed OS” which has a detailed description of how to add a board. Click the “New” on the left of menu bar, a “Create new program” window will be displayed. You can see that the Platform has been set to NuMaker-IoT-M487. In the Template, select the "NuMaker audio playback" for this tutorial. Then click OK. Now you can see that the sample code has loaded on the page. The sample code has three functions: 1. Record 10 seconds sound and save to Micro SD card 2. Play sounds stored in Micro SD card 3. Loopback. Record sound and play it immediately. Click main.cpp to open it. Then scroll down to line 421. You can see the functions calls here. It set to loopback only. Let’s do a little modification. Hit a key on console to start record 10 seconds then play it, and then do loopback. printf("Press a key to start recording 10 seconds..."); getchar(); demo_record(); demo_play(); demo_loopback(); Save it and click “Compile” to build the code. Compilation takes a while, please wait. After the compilation is completed, “Success” will appear in the compile output window. The browser downloads the binary firmware file directly after a successful compiling. It will be saved in a default download folder. In Chrome, you can click download file and select “Show in folder”. Please plug an earphone commonly used for mobile phone in headphone jack on NuMaker-IoT-M487 board. For demonstration, we use a headphone splitter cable to connect a microphone and a speaker. Do not put the microphone and speaker too close to avoid feedback howling. Then connect the USB port to your computer and make sure the onboard LED lights up. Back to the folder you just download the binary firmware file (NuMaker-mbed-AudioPlayback-example.NUMAKER_IOT_M487.bin). Drag and drop the file to NuMicro MCU drive. You will see the copying progress dialog box. Please find the virtual COM port assigned for NuMaker-IoT-M487 in Device Manager. In the demonstration, the “Nu-Link Virtual Com Port” is COMx. Then use your favorite terminal tool. Here we use Putty. Open the COMx port with 9600 baud rate. And no flow control settings. Then “Open” it. Press “Reset” on board to run the firmware again. Press a key on terminal to start record. Speak for about 10 seconds, then your voice will be played. That’s all for this tutorial. Thank you for watching. Welcome to subscribe to our channel. If you want to get more information, please contact us “SalesSupport@nuvoton.com” - For more information, please visit Nuvoton Technology Website: https://bit.ly/3hVdcmC Buy now: https://direct.nuvoton.com/tw/numaker-iot-m487 Contact us: SalesSupport@nuvoton.com #tool #training #learning #intermediate #en
 -
 훈련 도구 공부하다 Watch time - 3:55Hello everyone, I am Morgan, the principal engineer of Nuvoton Technology. Today, I will show you how to use SD card with Mbed OS on NuMaker-IoT-M487 development board. Open Chrome browser, and enter the URL https://ide.mbed.com to use the Mbed Online Compiler. After log in, make sure that NuMaker-IoT-M487 board already selected in the upper right corner. If not, please refer Nuvoton IoT Tutorial series “Get Started with Mbed OS” which has a detailed description of how to add a board. Click the “New” on the left of menu bar, a “Create new program” window will be displayed. You can see that the Platform has been set to NuMaker-IoT-M487. In the Template, select the "NuMaker SD-File-System with SD mode" for this tutorial. Then click OK. Now you can see that the sample code has loaded on the page. LittleFS uses less memory, supports power failure protection. However, LittleFS is different from the FAT file system, so after uses littleFS, the SD card will be formatted as LittleFS. The sample code uses FAT file system as default. Just click “Compiler” to build the example. It is in compiling, please wait a moment. After the compilation is complete, “Success” will appear in the compile output window. The browser downloads the binary firmware file directly after a successful compiling. It will be saved in a default download folder or the folder based on your browser setting. In Chrome, you can click download file and select “Show in folder”. Please insert a micro SD card into the card slot on the back of NuMaker-IoT-M487 board, then connect the USB to your computer and make sure the onboard LED lights up. Let’s back to the folder you just download the binary firmware file (NuMaker-mbed-SD-FileSystem-example.NUMAKER_IOT_M487.bin). Drag and drop the file to NuMicro MCU drive. You will see the copying progress dialog box. Please find the virtual COM port assigned for NuMaker-IoT-M487 in Device Manager. In the demonstration, the “Nu-Link Virtual Com Port” is COMx. Then use your favorite terminal tool. Here we use Putty. Open the COMx port with 115200 baud rate And no flow control settings. Then “Open” it. Press “Reset” on board to run the firmware again. You can see the messages on terminal while accessing SD card. That’s all for this tutorial. Thank you for watching. Welcome to subscribe to our channel. If you want to get more information, please contact us “SalesSupport@nuvoton.com” - For more information, please visit Nuvoton Technology Website: https://bit.ly/3hVdcmC Buy now: https://direct.nuvoton.com/tw/numaker-iot-m487 Contact us: SalesSupport@nuvoton.com #tool #training #learning #intermediate #en
 -
 훈련 도구 공부하다 Watch time - 4:32Hello everyone, I am Morgan, the principal engineer of Nuvoton Technology. Today, I will show you how to control the temperature and humidity sensor with Mbed OS on NuMaker-IoT-M487 development board. For this tutorial, we choose the “Thermo 6 Click” board. It is a mikroBUS board with a MAX31875 sensor. It is easy to install on NuMaker-IoT-M487 board because it has a mikroBUS connector. The part of control code refer from community, it is easy and quick to be integrated into real application. Open Chrome browser, and enter the URL https://ide.mbed.com to use the Mbed Online Compiler. After log in, make sure that NuMaker-IoT-M487 board already selected in the upper right corner. If not, please refer Nuvoton IoT Tutorial series “Get Started with Mbed OS” which has a detailed description of how to add a board. Click the “New” on the left of menu bar, a “Create new program” window will be displayed. You can see that the Platform has been set to NuMaker-IoT-M487. In the Template, select the "NuMaker Thermo-Sensor MAX31875 " for this tutorial. Then click OK. Now you can see that the sample code has loaded on the page. The sample code includes the MAX31875 control from community, declares an I2C object used on NuMaker-IoT-M487’s mikroBUS and a sensor object with the I2C object. Get the temperature value then print it. No modification needed, just click “Compile” to build the sample code. It is in compiling, please wait a moment. Then you can see the last message is “Success!” after compile completed. The browser downloads the binary firmware file directly after a successful compiling. It will be saved in a default download folder or the folder based on your browser setting. In Chrome, you can click download file and select “Show in folder”. Now is the time to install the Thermo 6 Click temperature and humidity sensor board on the mikroBUS, please pay attention to the correct orientation of the board. Then we connect the NuMaker-IoT-M487 USB port to your computer and make sure the onboard LED lights up. Let’s back to the folder you just download the binary firmware file (NuMaker-mbed-Sensor-MAX31875.NUMAKER_IOT_M487.bin). Drag and drop the file to NuMicro MCU drive. You will see the copying progress dialog box. Please find the virtual COM port assigned for NuMaker-IoT-M487 in Device Manager. In the tutorial, the “Nu-Link Virtual Com Port” is COMx. Then use your favorite terminal tool. Here we use Putty. Open the COMx port with 115200 baud rate And no flow control settings. Then “Open” it. You can see the current temperature in Celsius and Fahrenheit printed on terminal. That’s all for this tutorial. Thank you for watching. Welcome to subscribe to our channel. If you want to get more information, please contact us at SalesSupport@nuvoton.com - For more information, please visit: https://bit.ly/3hVdcmC Buy now: https://direct.nuvoton.com/tw/numaker-iot-m487 Contact us: SalesSupport@nuvoton.com #tool #training #learning #intermediate #en
 -
 훈련 도구 공부하다 Watch time - 4:13NuMaker-IoT-M487 (6) Use Ethernet Hello everyone, I am Morgan, the principal engineer of Nuvoton Technology. Today, I will show you how to use Ethernet with Mbed OS on NuMaker-IoT-M487 development board. Open Chrome browser, and enter the URL https://ide.mbed.com to use the Mbed Online Compiler. After log in, make sure that NuMaker-IoT-M487 board already selected in the upper right corner. If not, please refer Nuvoton IoT Tutorial series “Get Started with Mbed OS” which has a detailed description of how to add a board. Click the “New” on the left of menu bar, a “Create new program” window will be displayed. You can see that the Platform has been set to NuMaker-IoT-M487. In the Template, select the "NuMaker Ethernet TCP" for this tutorial. Then click OK. Now you can see that the sample code has loaded on the page. The network default configuration is Ethernet, so we don’t have to manually modify mbed_app.json file. The sample code automatically acquires IP address, connects to web server and display the return message. Just click “Compile” to build the sample code. It is in compiling, please wait a moment. Then you can see the last message is “Success!” after compile completed. The browser downloads the binary firmware file directly after a successful compiling. It will be saved in a default download folder or the folder based on your browser setting. In Chrome, you can click download file and select “Show in folder”. Connect the LAN cable in the network that does not require proxy settings. Then we connect the NuMaker-IoT-M487 USB port to your computer and make sure the onboard LED lights up. Let’s back to the download folder where you can see the binary firmware file (NuMaker-mbed-tcp.NUMAKER_IOT_M487.bin). Drag and drop the file to NuMicro MCU drive. You will see the copying progress dialog box. Please find the virtual COM port assigned for NuMaker-IoT-M487 in Device Manager. In the tutorial, the “Nu-Link Virtual Com Port” is COMx. Then use your favorite terminal tool. Here we use Putty. Open the COMx port with 115200 baud rate And no flow control settings. Then “Open” it. Press Reset button on board to run again. You can see the connection messages printed on terminal. It shows the board’s IP address, sends a simple HTTP connection to server, and the result of return. That’s all for this tutorial. Thank you for watching. Welcome to subscribe to our channel. If you want to get more information, please contact us at SalesSupport@nuvoton.com - For more information, please visit Nuvoton Technology Website: https://bit.ly/3hVdcmC Buy now: https://direct.nuvoton.com/tw/numaker-iot-m487 Contact us: SalesSupport@nuvoton.com #tool #training #learning #intermediate #en
 粤公网安备 44030502010001号