搜寻
搜寻结果
搜寻Power Control ,
找到 8 笔
- 排序
- 依时间
- 依热门度

前瞻应用
学习
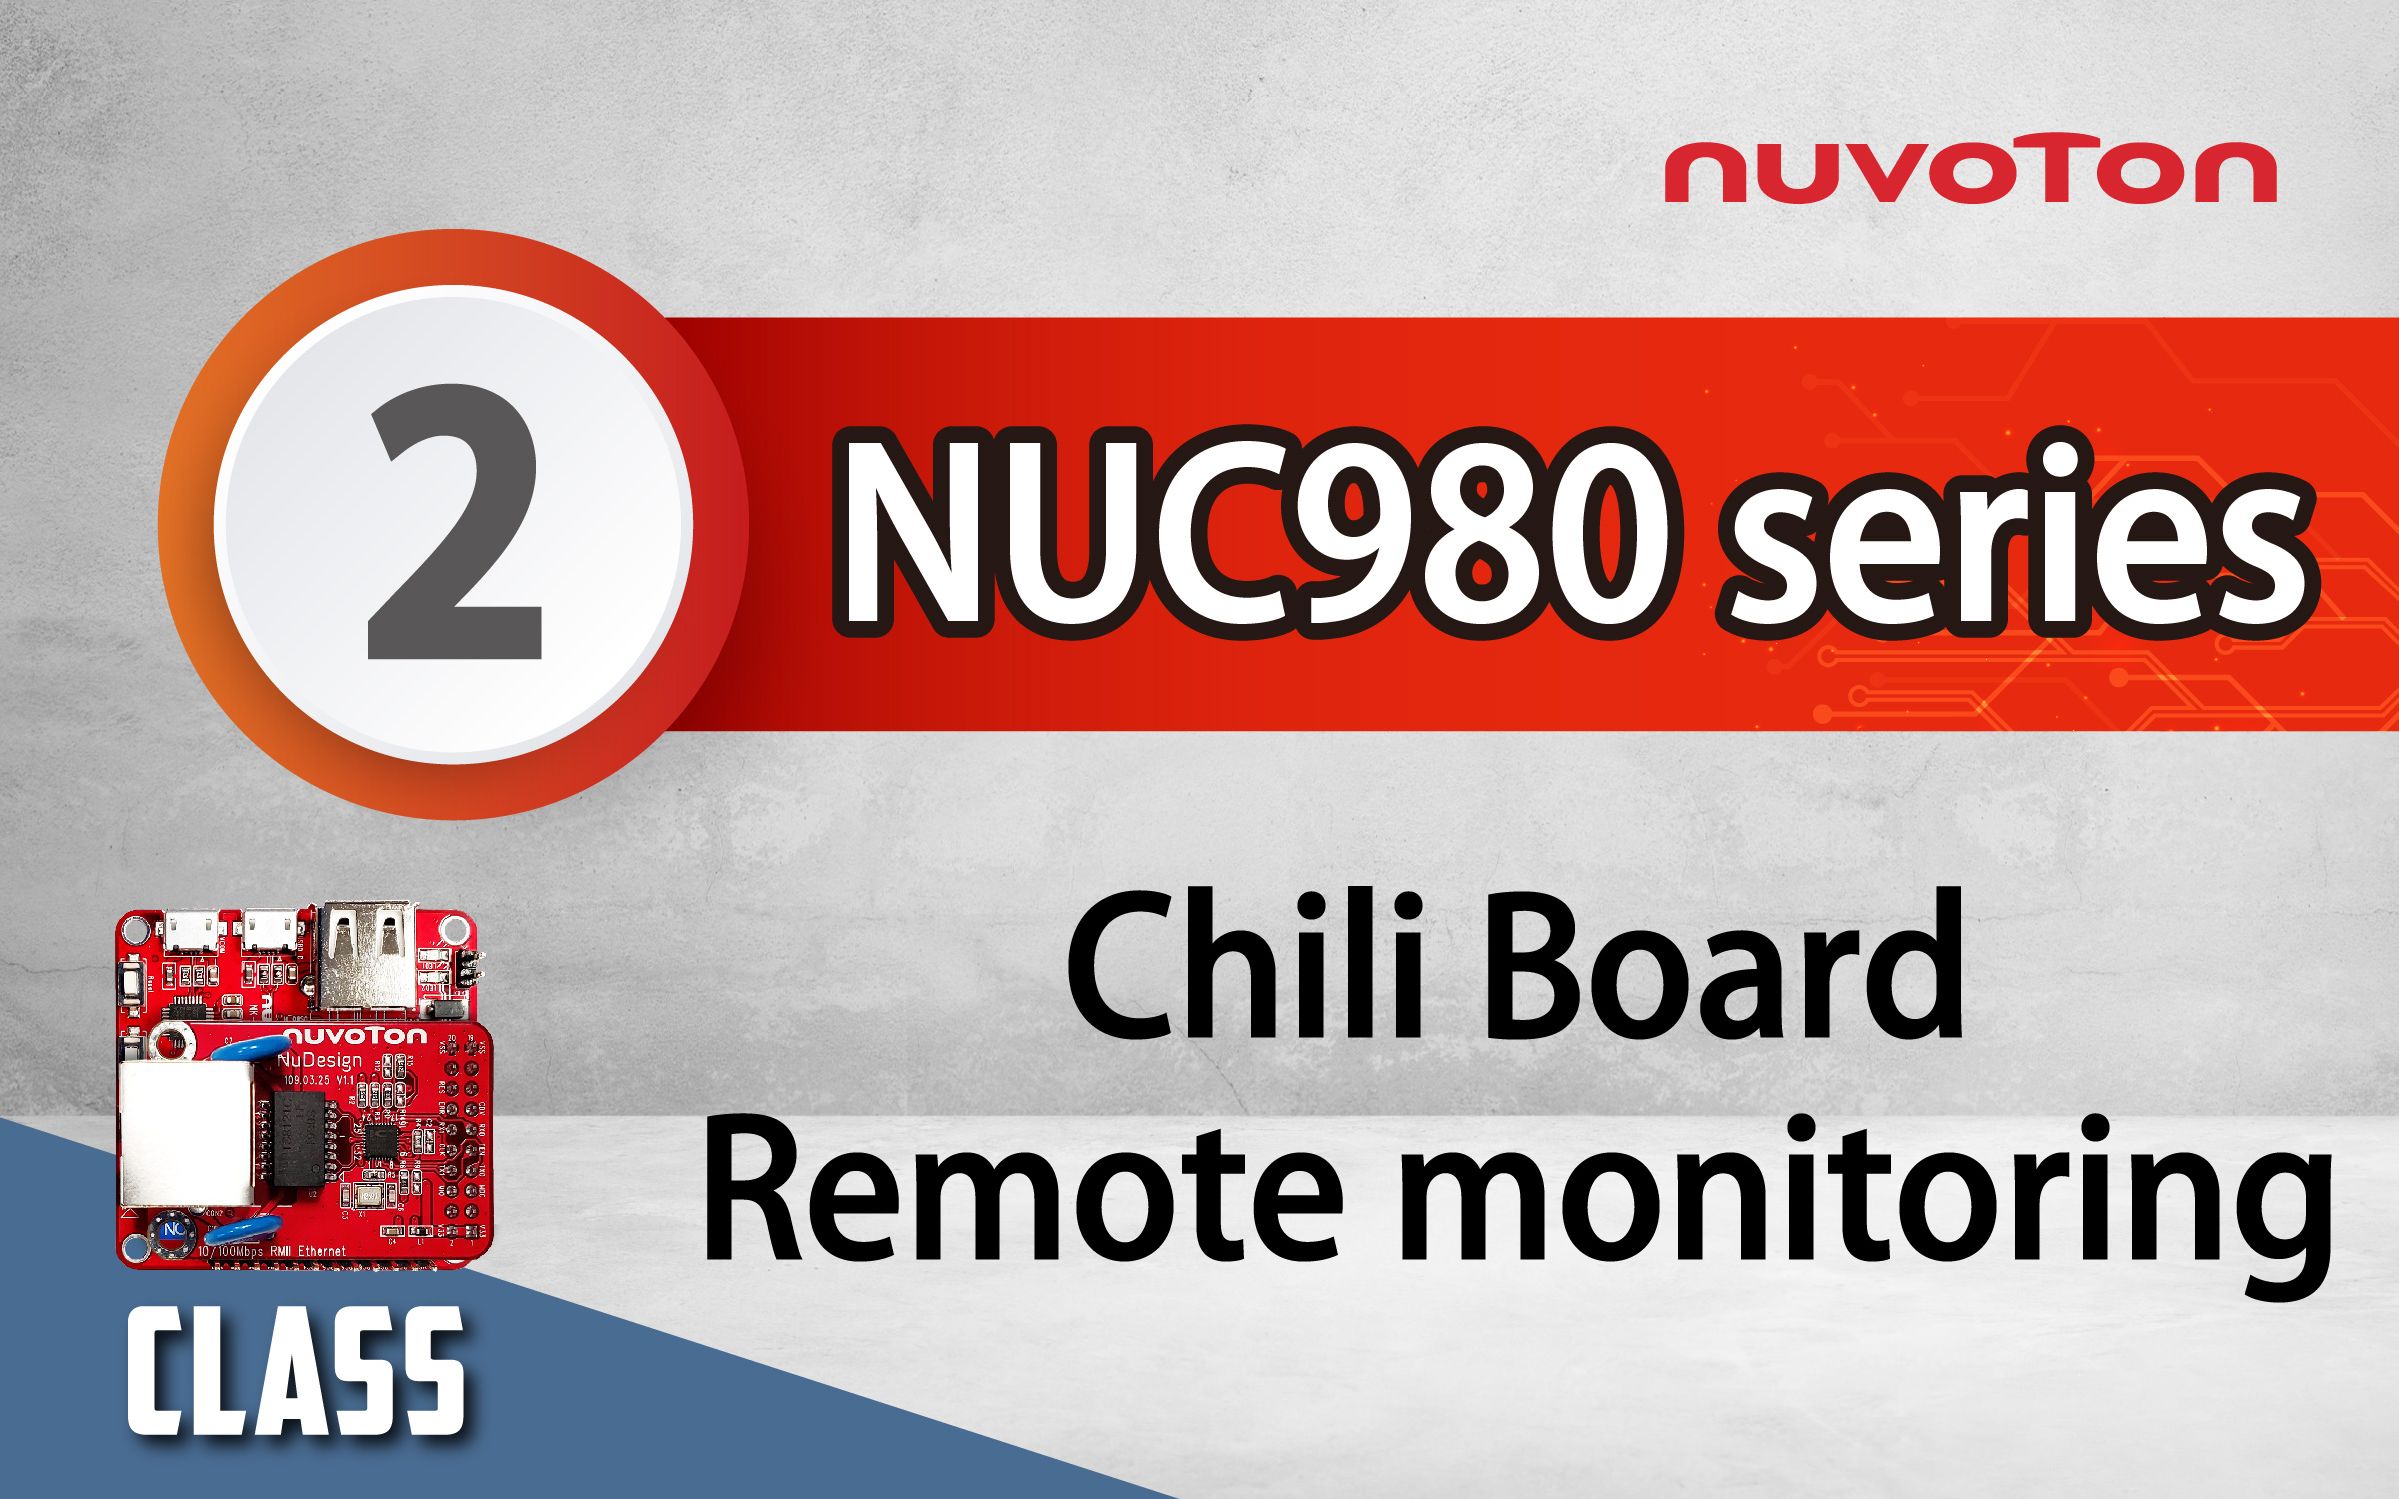
视频长度 - 7:34
此影片将教大家如何使用 Chili Board 完成远程监控与资料存取应用。手把手教学完成从网路 IP 设定到远程操控 Child Board 及内部资料存取的实例操作。
#Application #Learning #Intermediate #zh-Hans
-
更多产品资讯,请至新唐科技网站 https://www.nuvoton.com/?utm_source=bb&utm_medium=video&utm_campaign=all
培训
工具
学习
视频长度 - 4:15
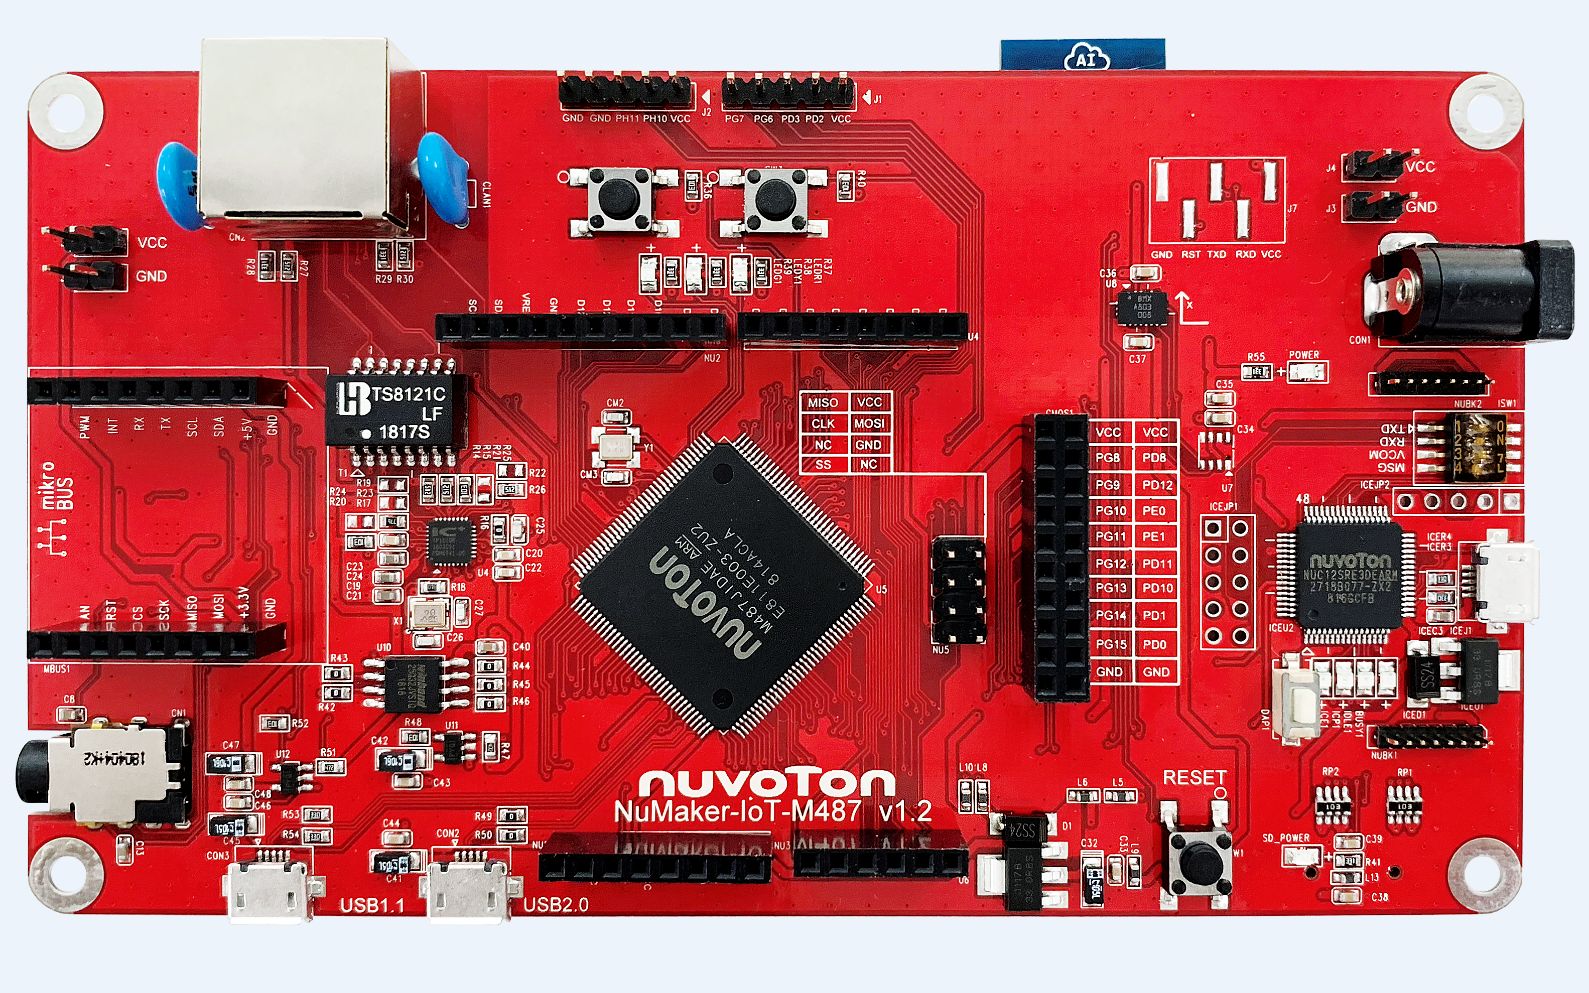
以新唐 NuMaker-IoT-M487 与 AliOS Things 为平台进行开发,学习开发各式功能。观看本片,您将学会如何以 AliOS Things 范例程式输出 Hello World 与按键开关 LED 功能。
-
更多产品资讯,请至新唐科技网站 https://www.nuvoton.com/?utm_source=bb&utm_medium=video&utm_campaign=all
购买管道:https://tmall.nuvoton.com/
#Tool #Training #Learning #Intermediate #zh-Hans
培训
工具
学习
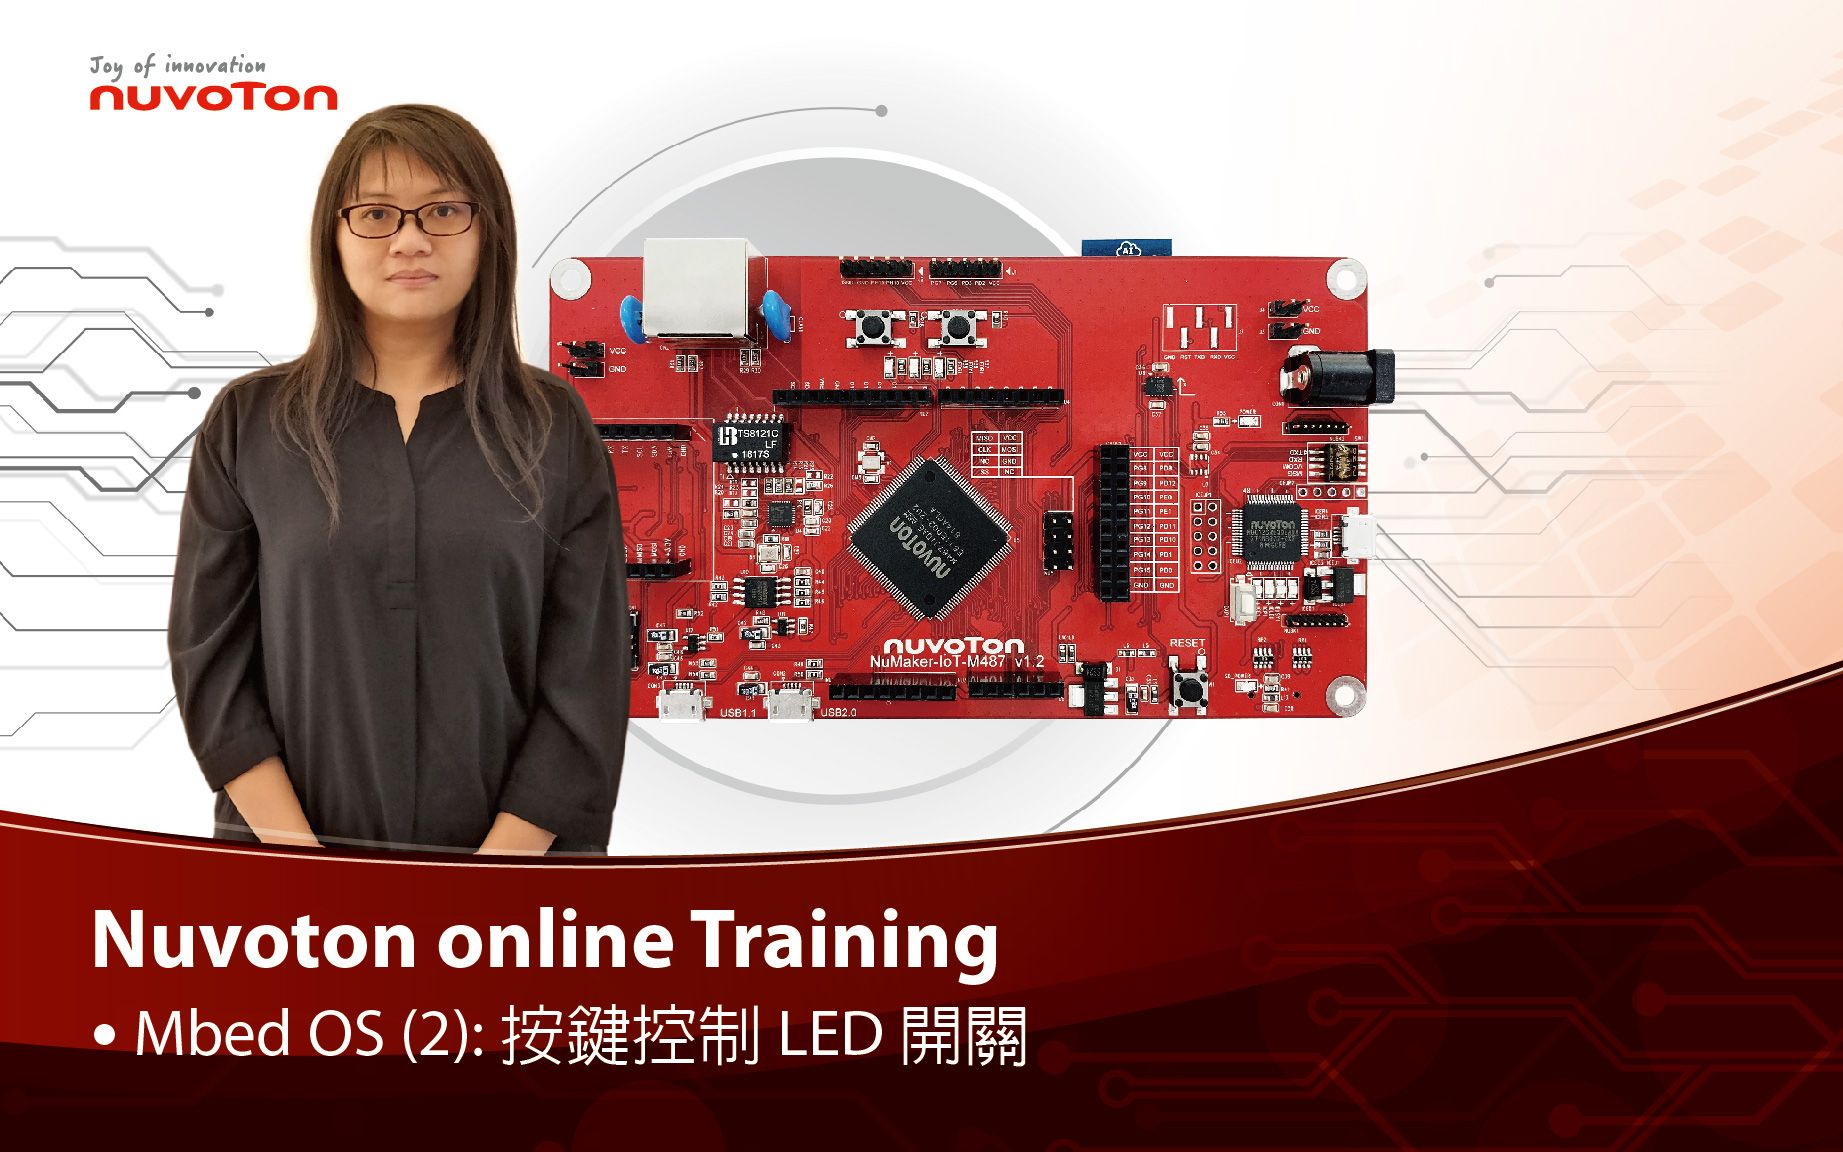
视频长度 - 2:53
以新唐 NuMaker-IoT-M487 为平台,使用 Mbed OS 进行开发,学习开发各式功能。观看本片,您将学会如何以 Mbed OS 范例程式完成按键开关 LED 功能。
-
更多产品资讯,请至新唐科技网站 https://www.nuvoton.com/?utm_source=bb&utm_medium=video&utm_campaign=all
购买管道:https://tmall.nuvoton.com/
#Tool #Training #Learning #Intermediate #zh-Hans
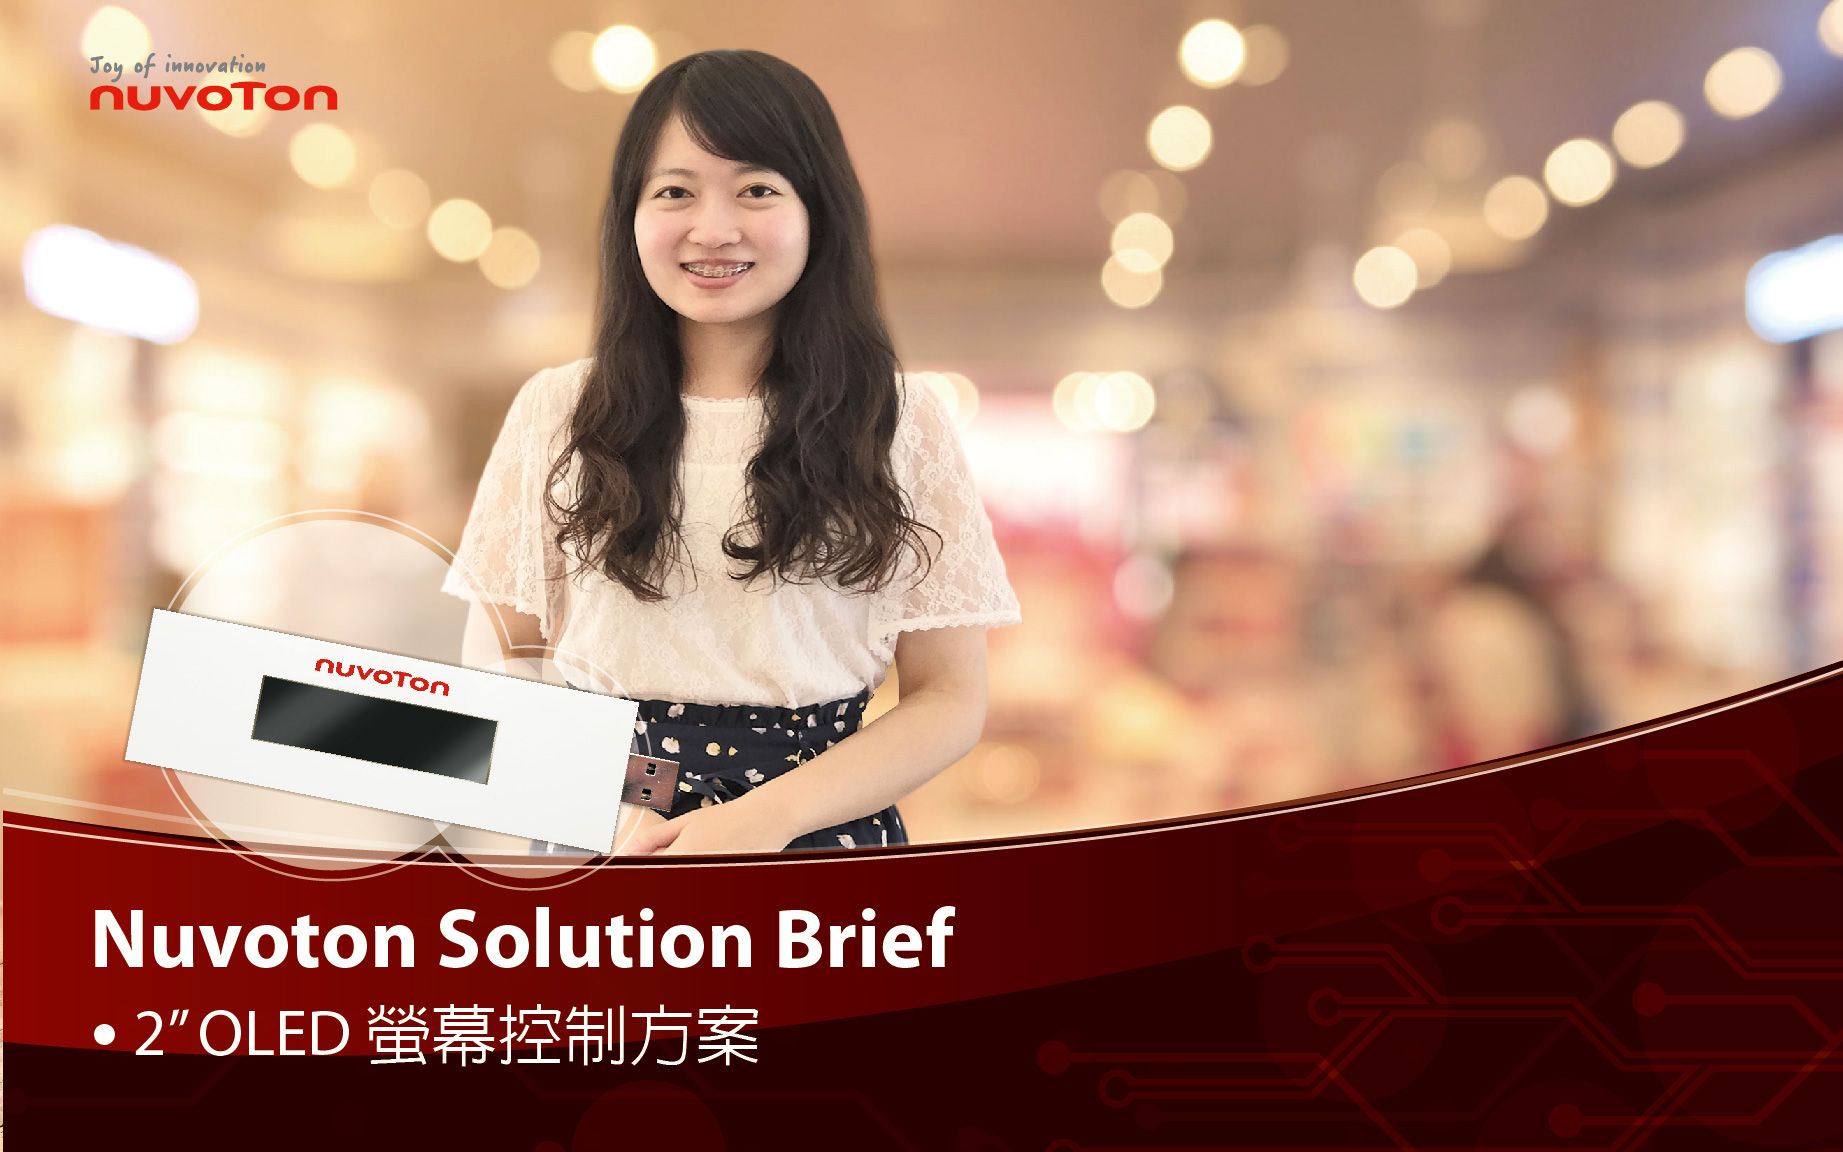
视频长度 - 3:12
本方案使用 NuMicro M480 高效能 M4 微控制器,搭配 emWin library 进行 GUI 图像化人机介面设计,将结果显示在 2” OLED 上。
-
更多产品资讯,请至新唐科技网站 https://www.nuvoton.com/?utm_source=bb&utm_medium=video&utm_campaign=all
购买管道:https://tmall.nuvoton.com/
 粤公网安备 44030502010001号