搜寻
搜寻结果
搜寻Nuvoton Microcontroller ,
找到 390 笔
- 排序
- 依时间
- 依热门度

视频长度 - 3:15
随着自动化生产及万物互联的需求提高,网关已经成为工业现场最重要的核心组件之一,透过此装置可将工业生产过程中采集到的数据,上传云端伺服器进行分析,取出重要的资讯产生商机。
-
更多产品资讯,请至新唐科技网站 https://www.nuvoton.com/?utm_source=bb&utm_medium=video&utm_campaign=all
购买管道:https://tmall.nuvoton.com/
网络研讨会
视频长度 - 14:41
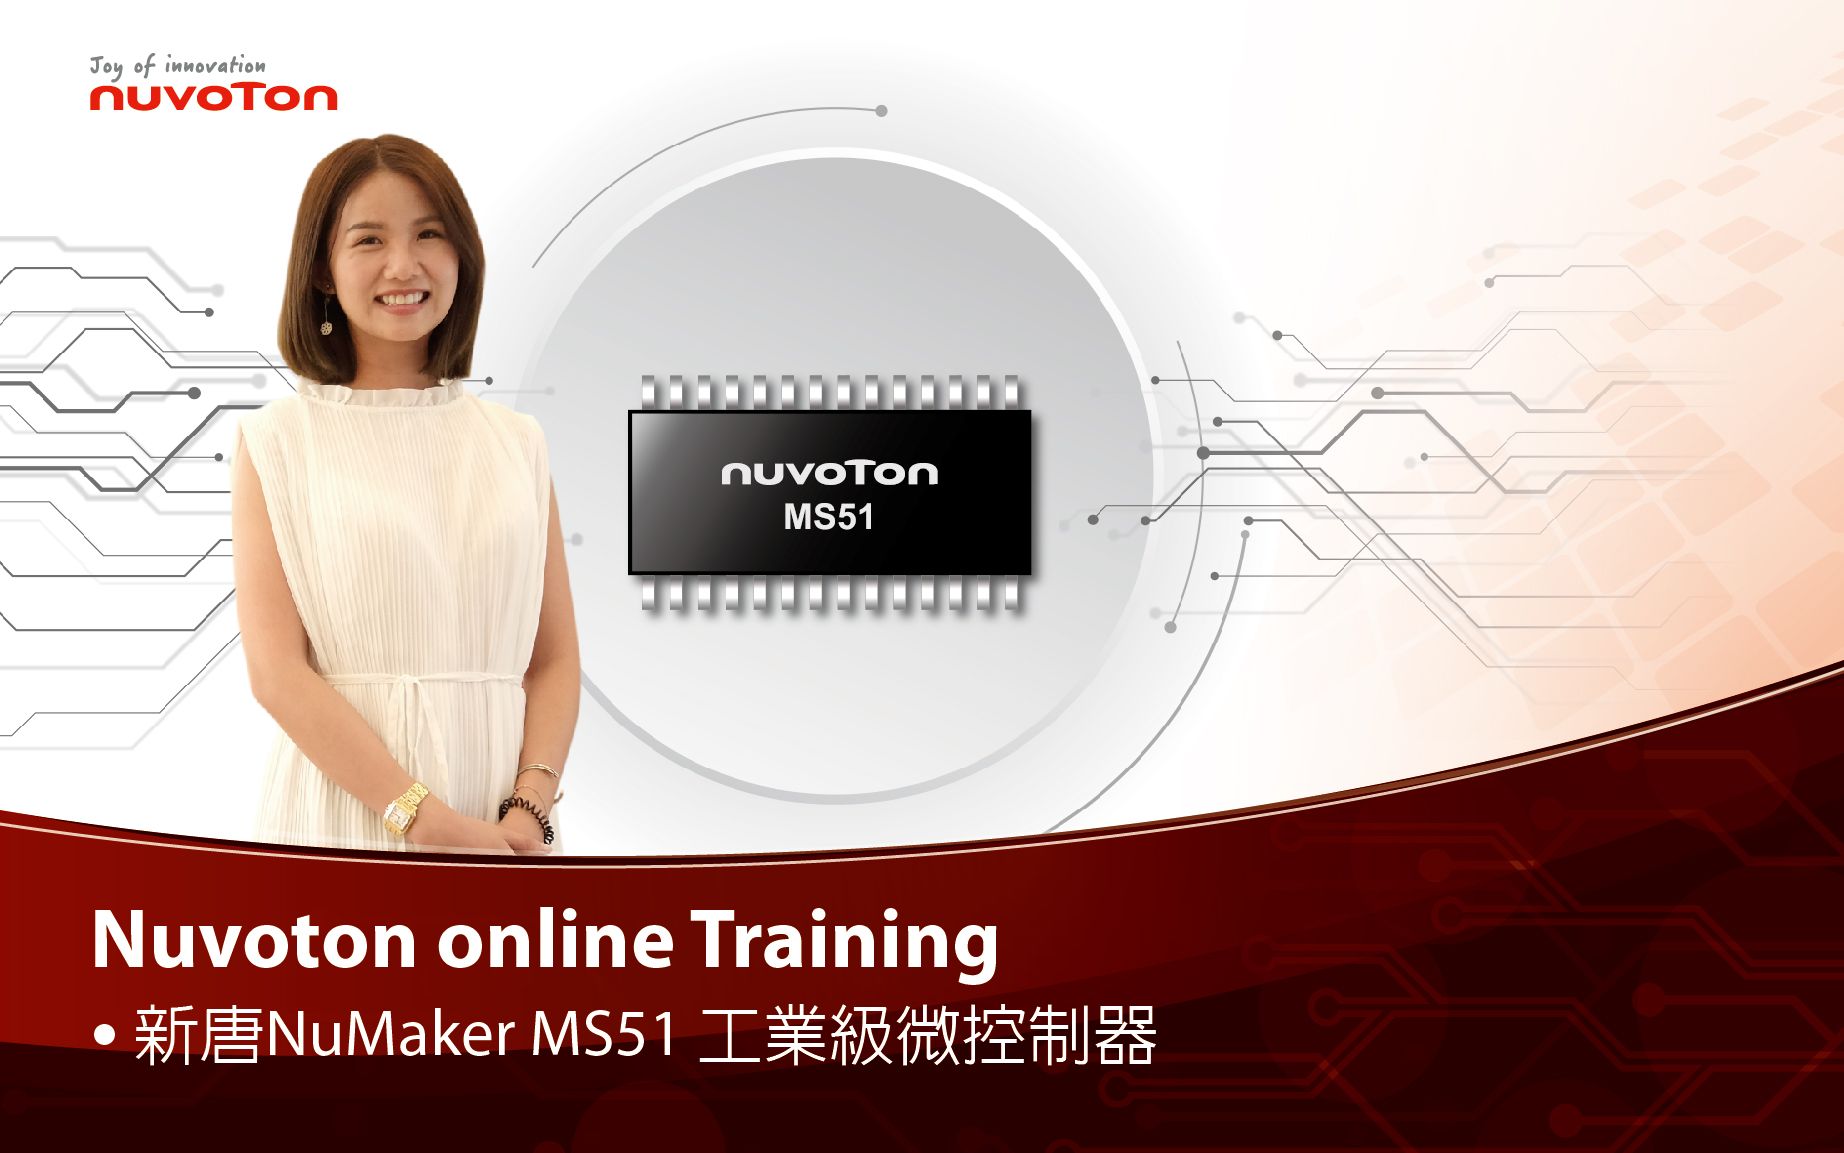
新唐科技推出工业级 MS51 系列微控制器,以满足工业级8051微控制器的需求。MS51 系列采用 1T 8051 嵌入式核心,工作电压为 2.4~5.5V、-40℃ 至 105℃ 的工业级操作温度,内置10KHz 与24MHz 的高低速振荡器,常温下可达1%精准度不须外接晶振,并拥有 8kV ESD、4.4kV EFT高抗干扰能力。
-
新唐科技网站 https://www.nuvoton.com/?utm_source=bb&utm_medium=video&utm_campaign=all

视频长度 - 2:21
新唐科技温控器参考设计。
-
更多产品资讯,请至新唐科技网站 https://www.nuvoton.com/?utm_source=bb&utm_medium=video&utm_campaign=all
购买管道:https://tmall.nuvoton.com/
视频长度 - 4:0
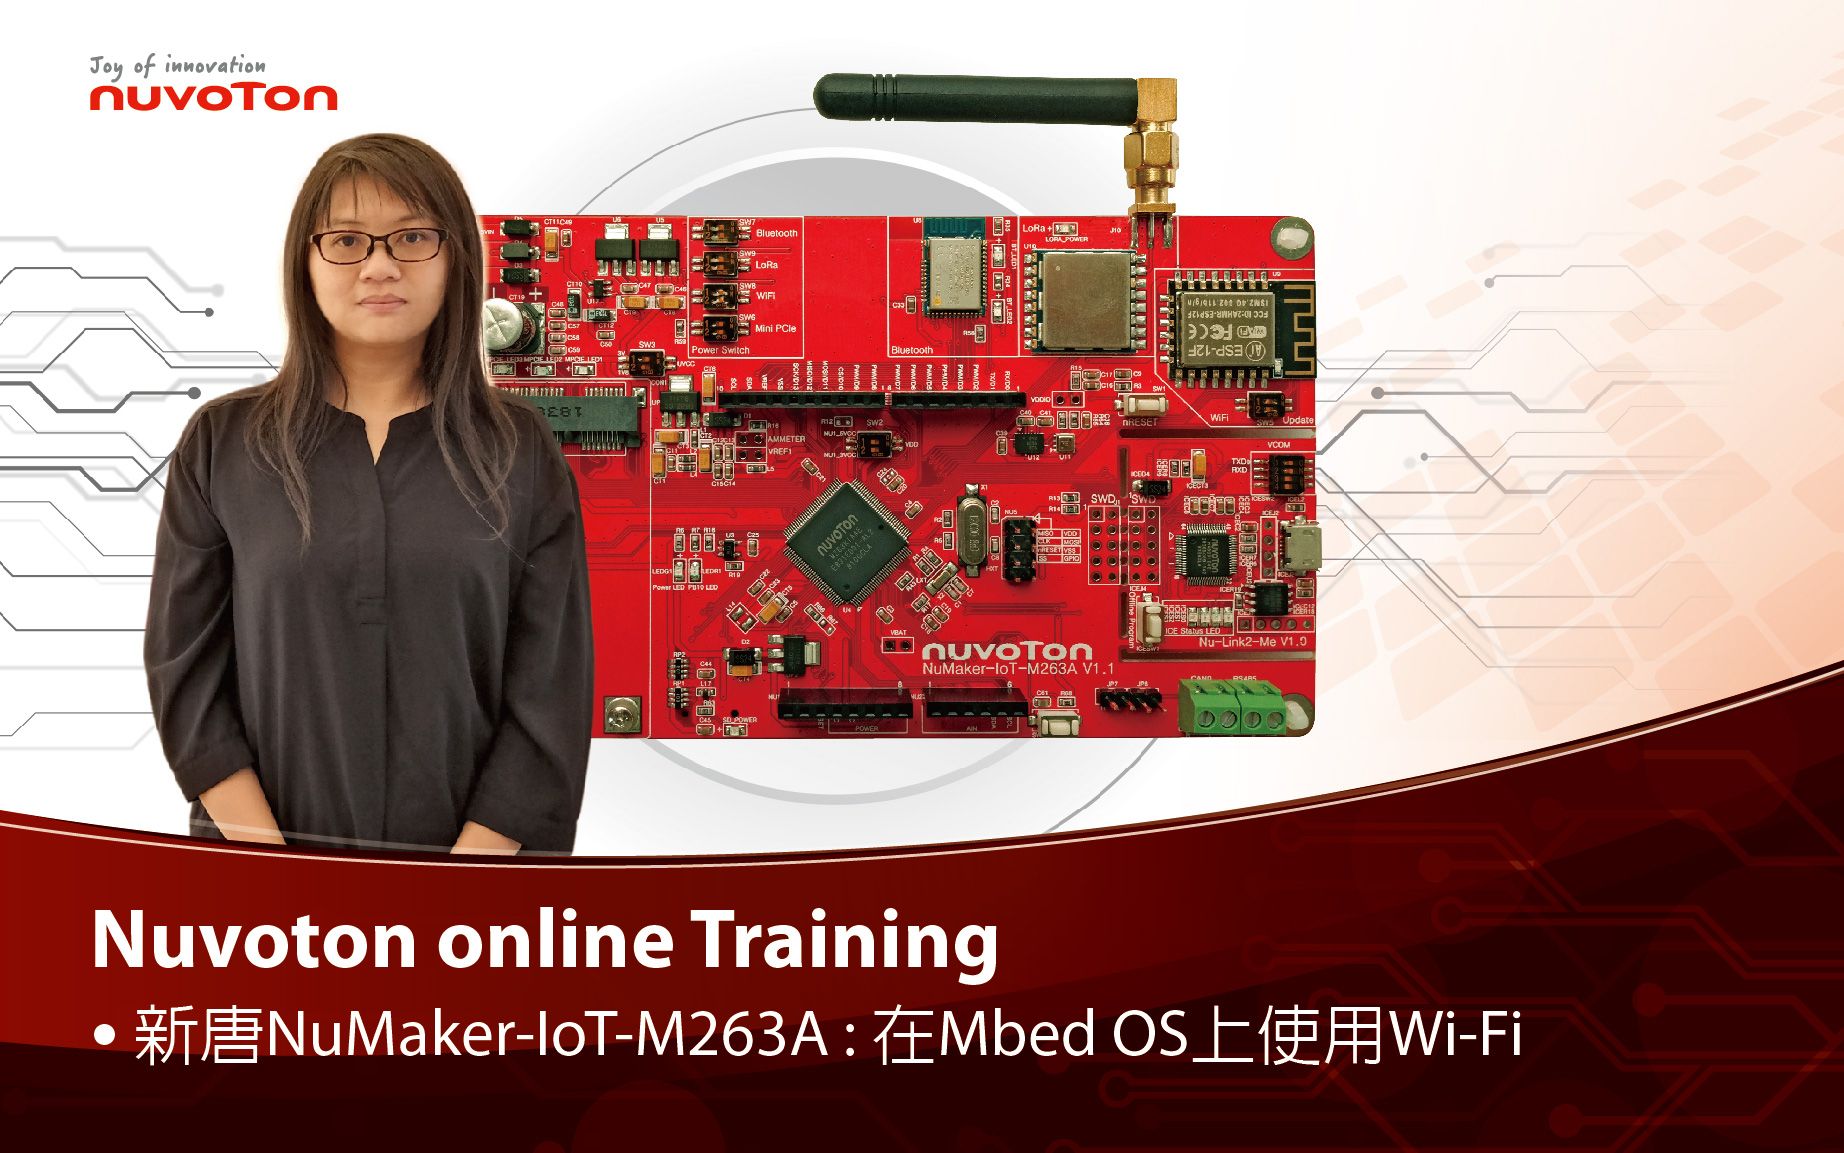
以新唐 NuMaker-IoT-M263A 与 MbedOS 为平台进行开发,学习开发各式功能。观看本片,您将学会如何 MbedOS 范例程序使用 Wi-Fi 连接到服务器并读取回传数据。
-
更多产品资讯,请至新唐科技网站 https://www.nuvoton.com/?utm_source=bb&utm_medium=video&utm_campaign=all
购买管道:https://tmall.nuvoton.com/
视频长度 - 3:0
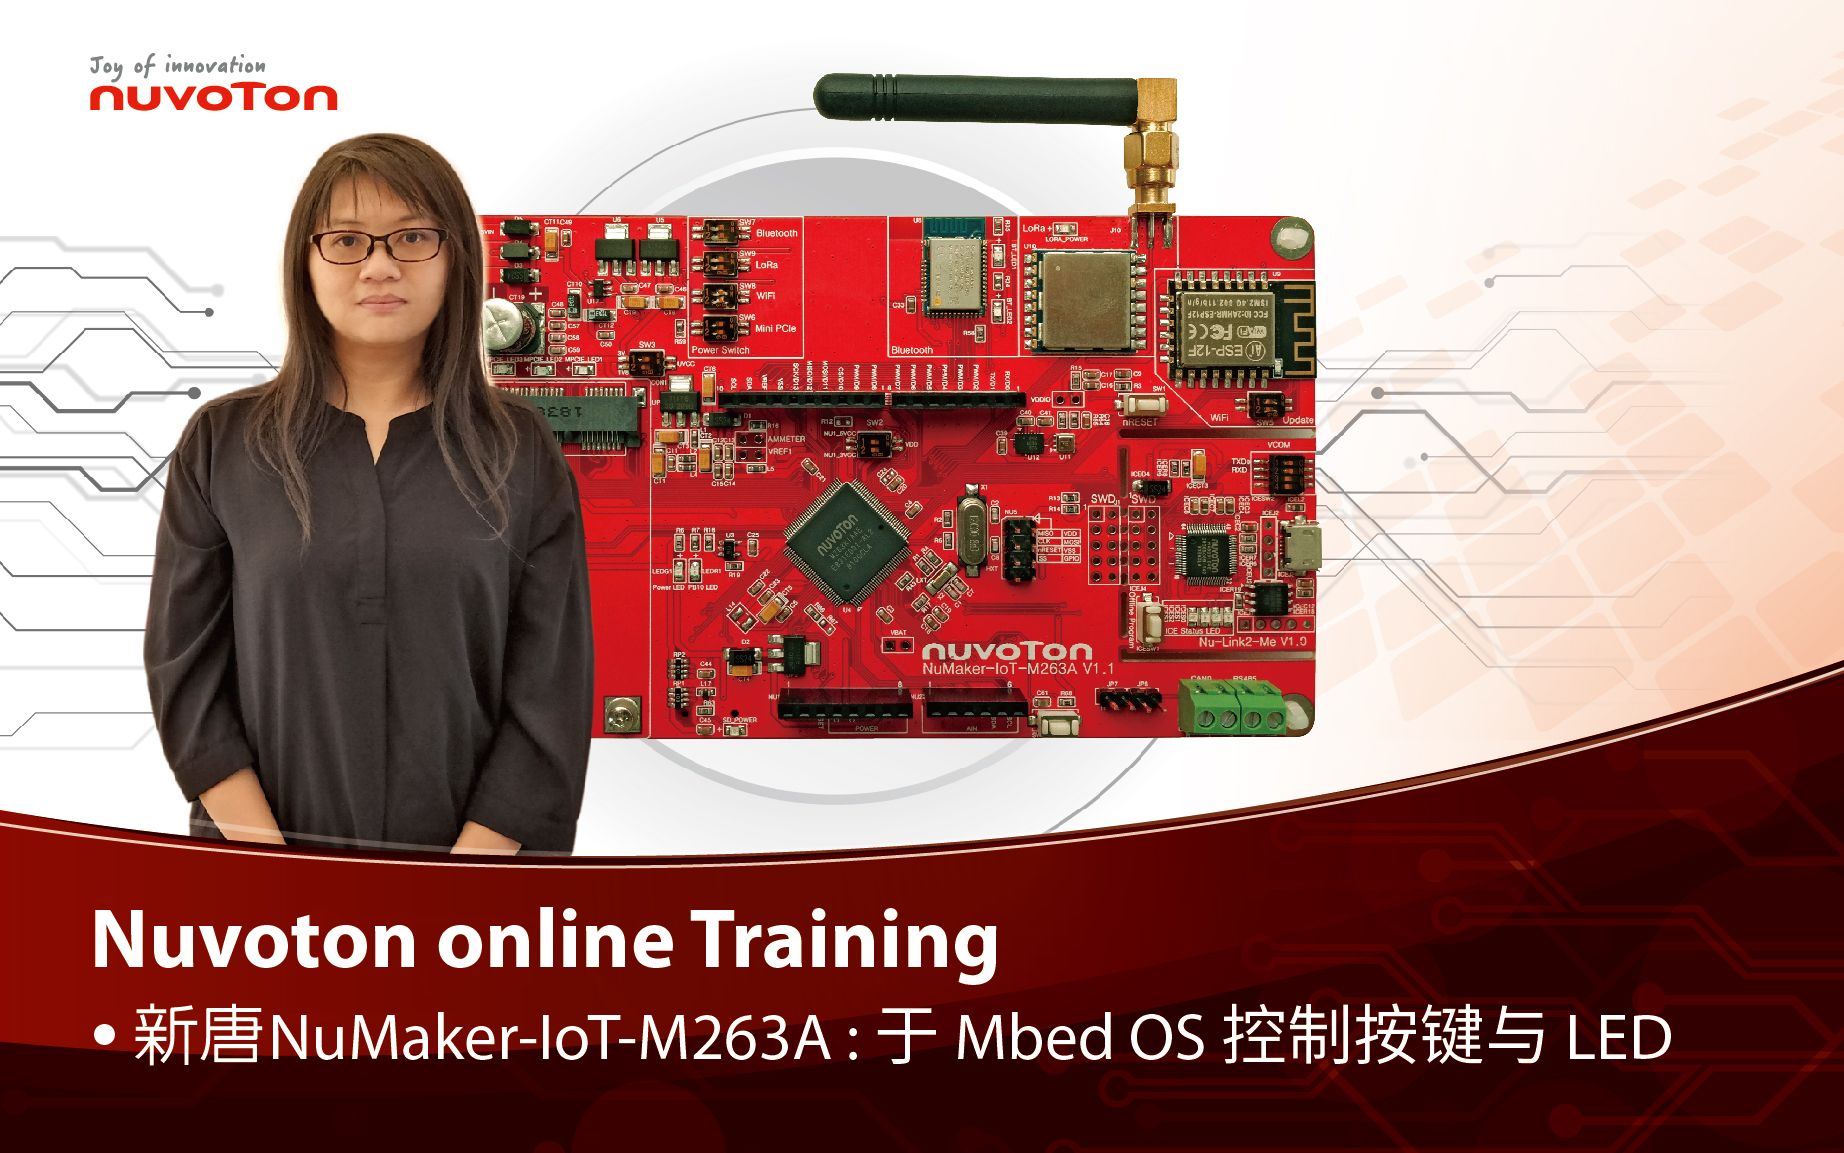
以新唐 NuMaker-IoT-M263A 为平台,使用 Mbed OS 进行开发,学习开发各式功能。观看本片,您将学会如何以 Mbed OS 范例程序完成按键开关 LED 功能。
-
更多产品资讯,请至新唐科技网站 https://www.nuvoton.com/?utm_source=bb&utm_medium=video&utm_campaign=all
购买管道:https://tmall.nuvoton.com/
视频长度 - 5:21
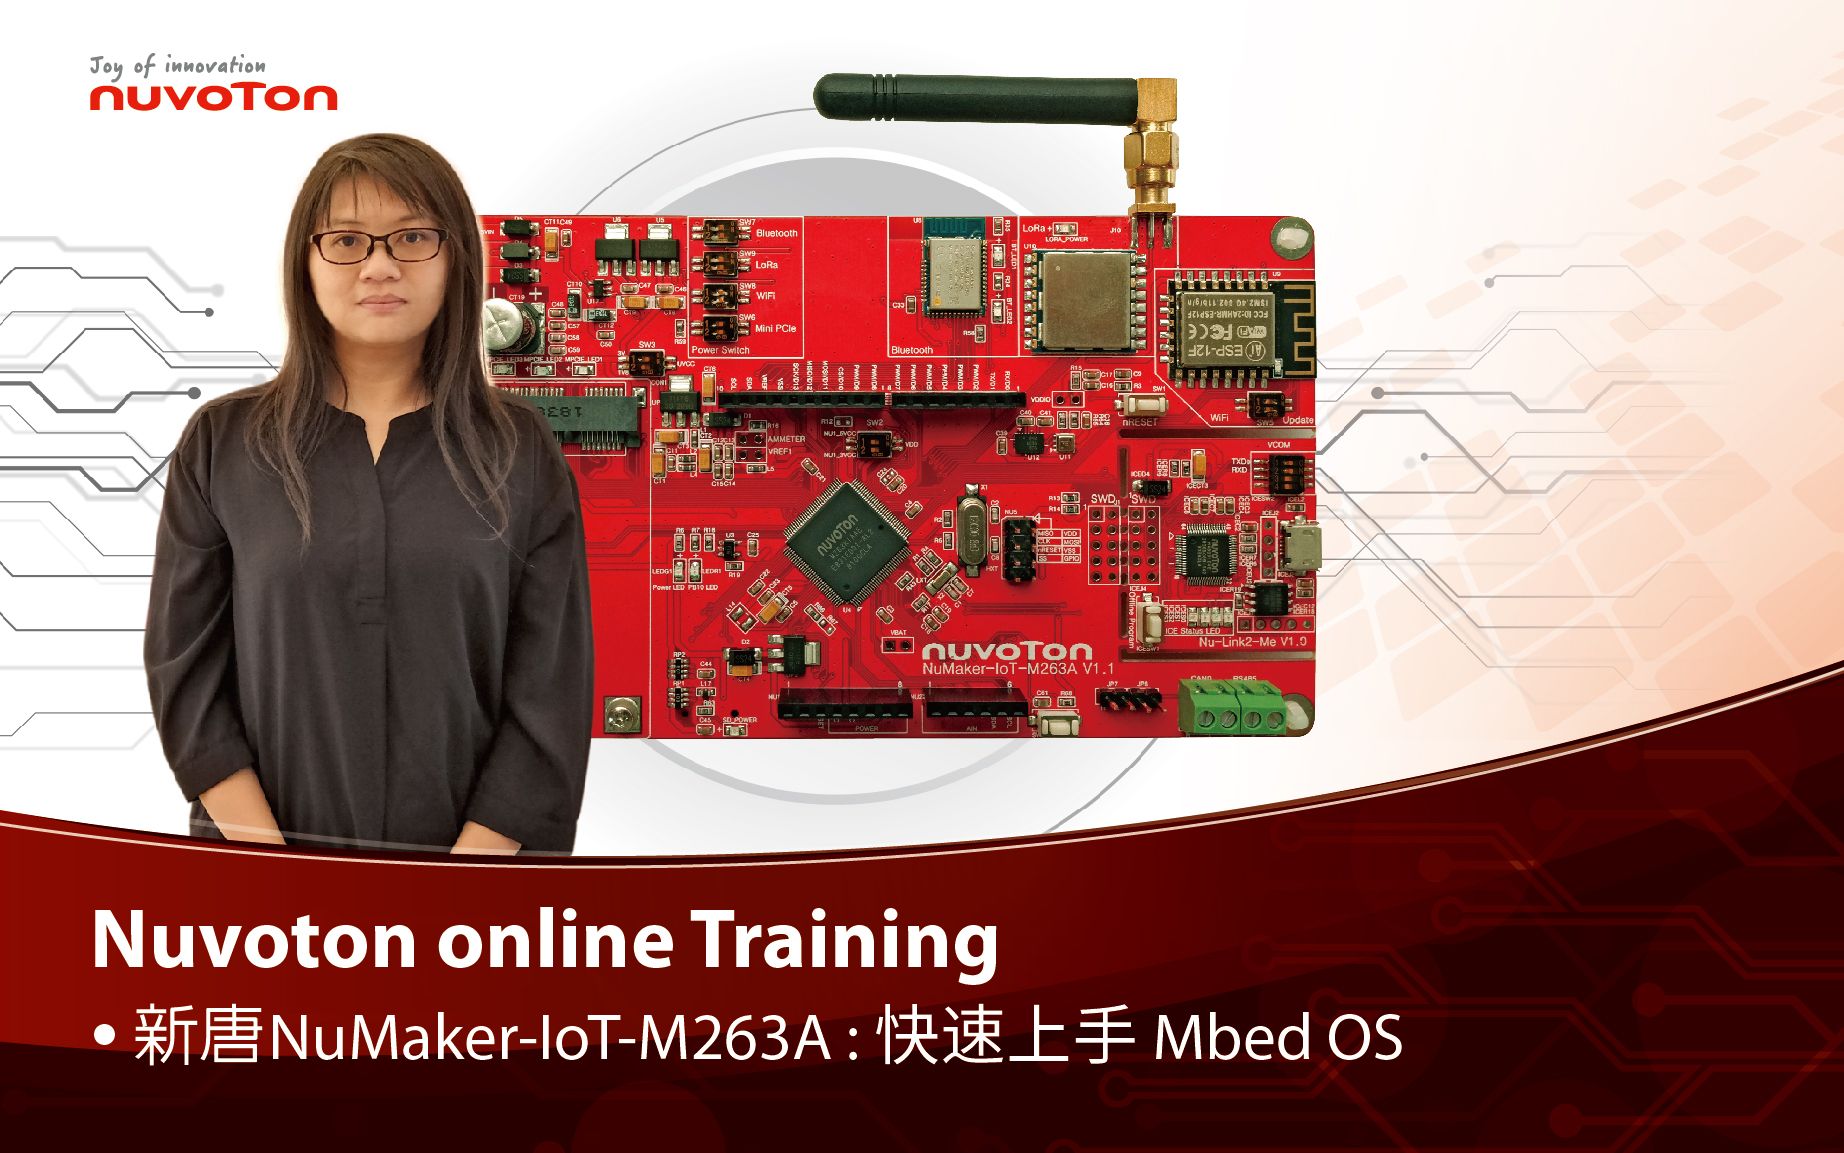
以新唐 NuMaker-IoT-M263A 与 MbedOS,学习如何使用范例程序,执行与显示 Hello World!
-
更多产品资讯,请至新唐科技网站 https://www.nuvoton.com/?utm_source=bb&utm_medium=video&utm_campaign=all
购买管道:https://tmall.nuvoton.com/
 粤公网安备 44030502010001号