搜寻
搜寻结果
搜寻IoT Device Management ,
找到 12 笔
- 排序
- 依时间
- 依热门度


创新产品
前瞻应用
工具
学习
视频长度 - 2:18
让使用者快速了解 NuMaker-IIoT-NUC980G2D/G1D 开发板的关键特性与应用支持。
【更多开发板信息】
- NuMaker-IIoT-NUC980G1D:
https://www.nuvoton.com/products/iot-solution/iot-platform/numaker-iiot-nuc980g1d/index.html
- NuMaker-IIoT-NUC980G2D:
https://www.nuvoton.com/products/iot-solution/iot-platform/numaker-iiot-nuc980g2d/index.html
#NUC980 #MPU #ARM9 #Microprocessor #IIOT #NewEnergy #Gateway #NewEnergyGateway #EVChargingStations #EnergyManagementSystem #Basic #General #Product #Application #Tool #Learning #zh-Hans
-
更多产品资讯,请至新唐科技网站 https://www.nuvoton.com/?utm_source=bb&utm_medium=video&utm_campaign=all
点我购买:https://nuvoton.world.tmall.com/
联络我们:SalesSupport@nuvoton.com

创新产品
前瞻应用
工具
学习
视频长度 - 1:56
让使用者快速了解NuMaker-IIoT-NUC980G2/G1开发板的关键特性与应用支持。
【更多开发板信息】
- NuMaker-IIoT-NUC980G1:
https://www.nuvoton.com/products/iot-solution/iot-platform/numaker-iiot-nuc980g1/
- NuMaker-IIoT-NUC980G2:
https://www.nuvoton.com/products/iot-solution/iot-platform/numaker-iiot-nuc980g2/
#NUC980 #MPU #ARM9 #Microprocessor #IIOT #NewEnergy #Gateway #NewEnergyGateway #EVChargingStations #EnergyManagementSystem #Basic #General #Product #Application #Tool #Learning #zh-Hans
-
更多产品资讯,请至新唐科技网站 https://www.nuvoton.com/?utm_source=bb&utm_medium=video&utm_campaign=all
点我购买:https://nuvoton.world.tmall.com/
联络我们:SalesSupport@nuvoton.com

创新产品
前瞻应用
视频长度 - 1:5:4
新唐科技将于 2023 MCU/MPU 新世代产品在线发表会强势发布全新微控制器与微处理器系列,基于 Arm® Cortex®-A35、Cortex®-M4、Cortex®-M23 核心,针对不同产业需求与应用场景,提供全面性的 IC 生态系统。
基于双核 64 位 Cortex-A35 高效能核心与单核 Cortex-M4 实时核心的 NuMicro® MA35D1 系列微处理器,Cortex-A35 内核运行速度可达 1 GHz。MA35D1 高效能异核同构微处理器,强调其先进安全特点、硬件图像加速器、高速连接界面、丰富的外设接口。适用于 Edge Gateway、机器学习、人机界面、工业控制、新能源多种应用场景。
基于 Cortex-M4 的 NuMicro® M460 系列微控制器,运行速度可达 200 MHz,支持安全启动、密钥储存 (Key Store)、HyperBus、相机接口、Fractional Audio PLL。适用于轻量级物联网网关。
基于 Cortex-M23 的 NuMicro® M254/M256/M258 系列微控制器,内建 LCD 驱动、电容式触控以及 USB2.0 FS Device,运行速度可达 48 MHz,可工作在 1.75V 至 5.5V 宽工作电压和 -40℃ 至 105℃ 的工业温度,更支持 EFT 4.4 kV 与 ESD HBM 7 kV 高抗干扰。适用于各种手持式装置。
#General #Product #Application #MCU #MPU #A35 #M4 #M23 #MA35D1 #M460 #M258 #异核同构 #EdgeGateway #机器学习 #人机界面 #工业控制 #新能源 #密钥储存 #HyperBus #物联网网关 #LCD驱动 #电容式触控 #USB Device #微控制器 #微处理器
-
更多产品资讯,请至新唐科技网站 https://www.nuvoton.com/?utm_source=bb&utm_medium=video&utm_campaign=all
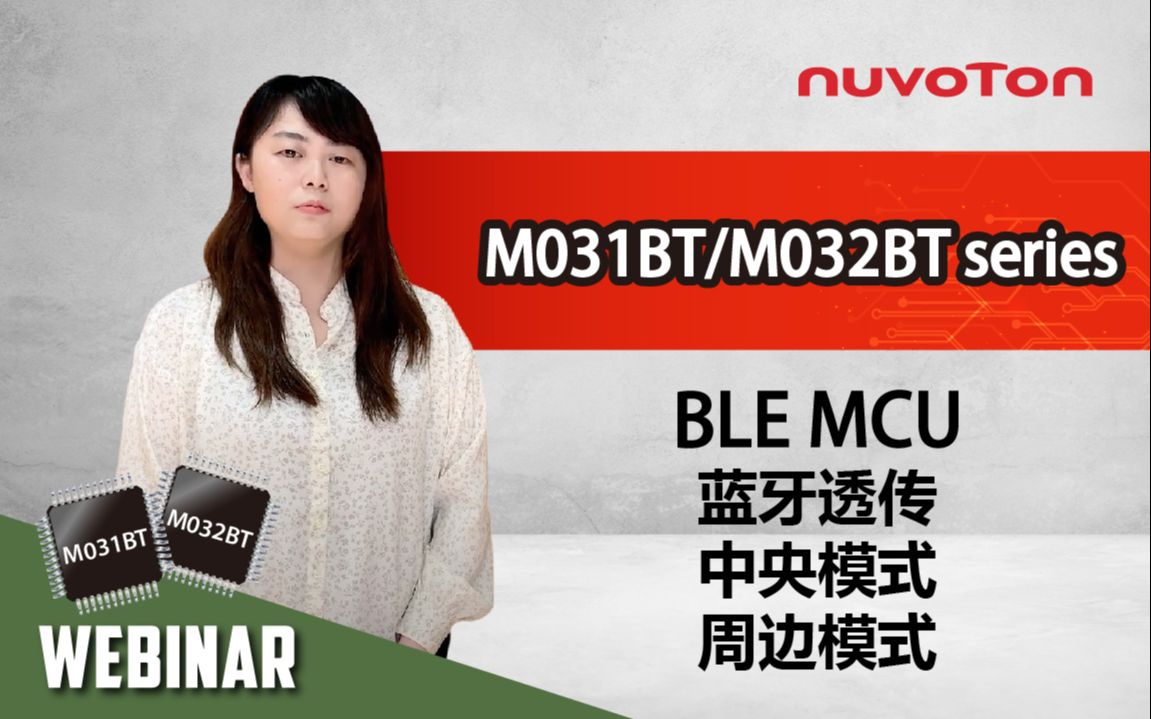
创新产品
网络研讨会
视频长度 - 35:45
新唐 M031BT/M032BT 系列提供主控功能带蓝牙低功耗 5.0 (Bluetooth Low Energy, BLE5.0) 与无线 2.4GHz 传输技术,为传统设计转型 IoT 应用一次到位。
#zh-Hans #Product #Webinar #General
-
更多产品资讯,请至新唐科技网站 https://www.nuvoton.com/?utm_source=bb&utm_medium=video&utm_campaign=all
培训
学习
视频长度 - 5:54
以新唐 NuMaker-PFM-M487 为平台进行开发,学习 USB device 功能。观看本片,您将学会使用 NuMaker- PFM -M487 开发板模擬 USB 鼠標。
#Chinese #Training #Basic # Learning
-
更多产品资讯,请至新唐科技网站 https://www.nuvoton.com/?utm_source=bb&utm_medium=video&utm_campaign=all
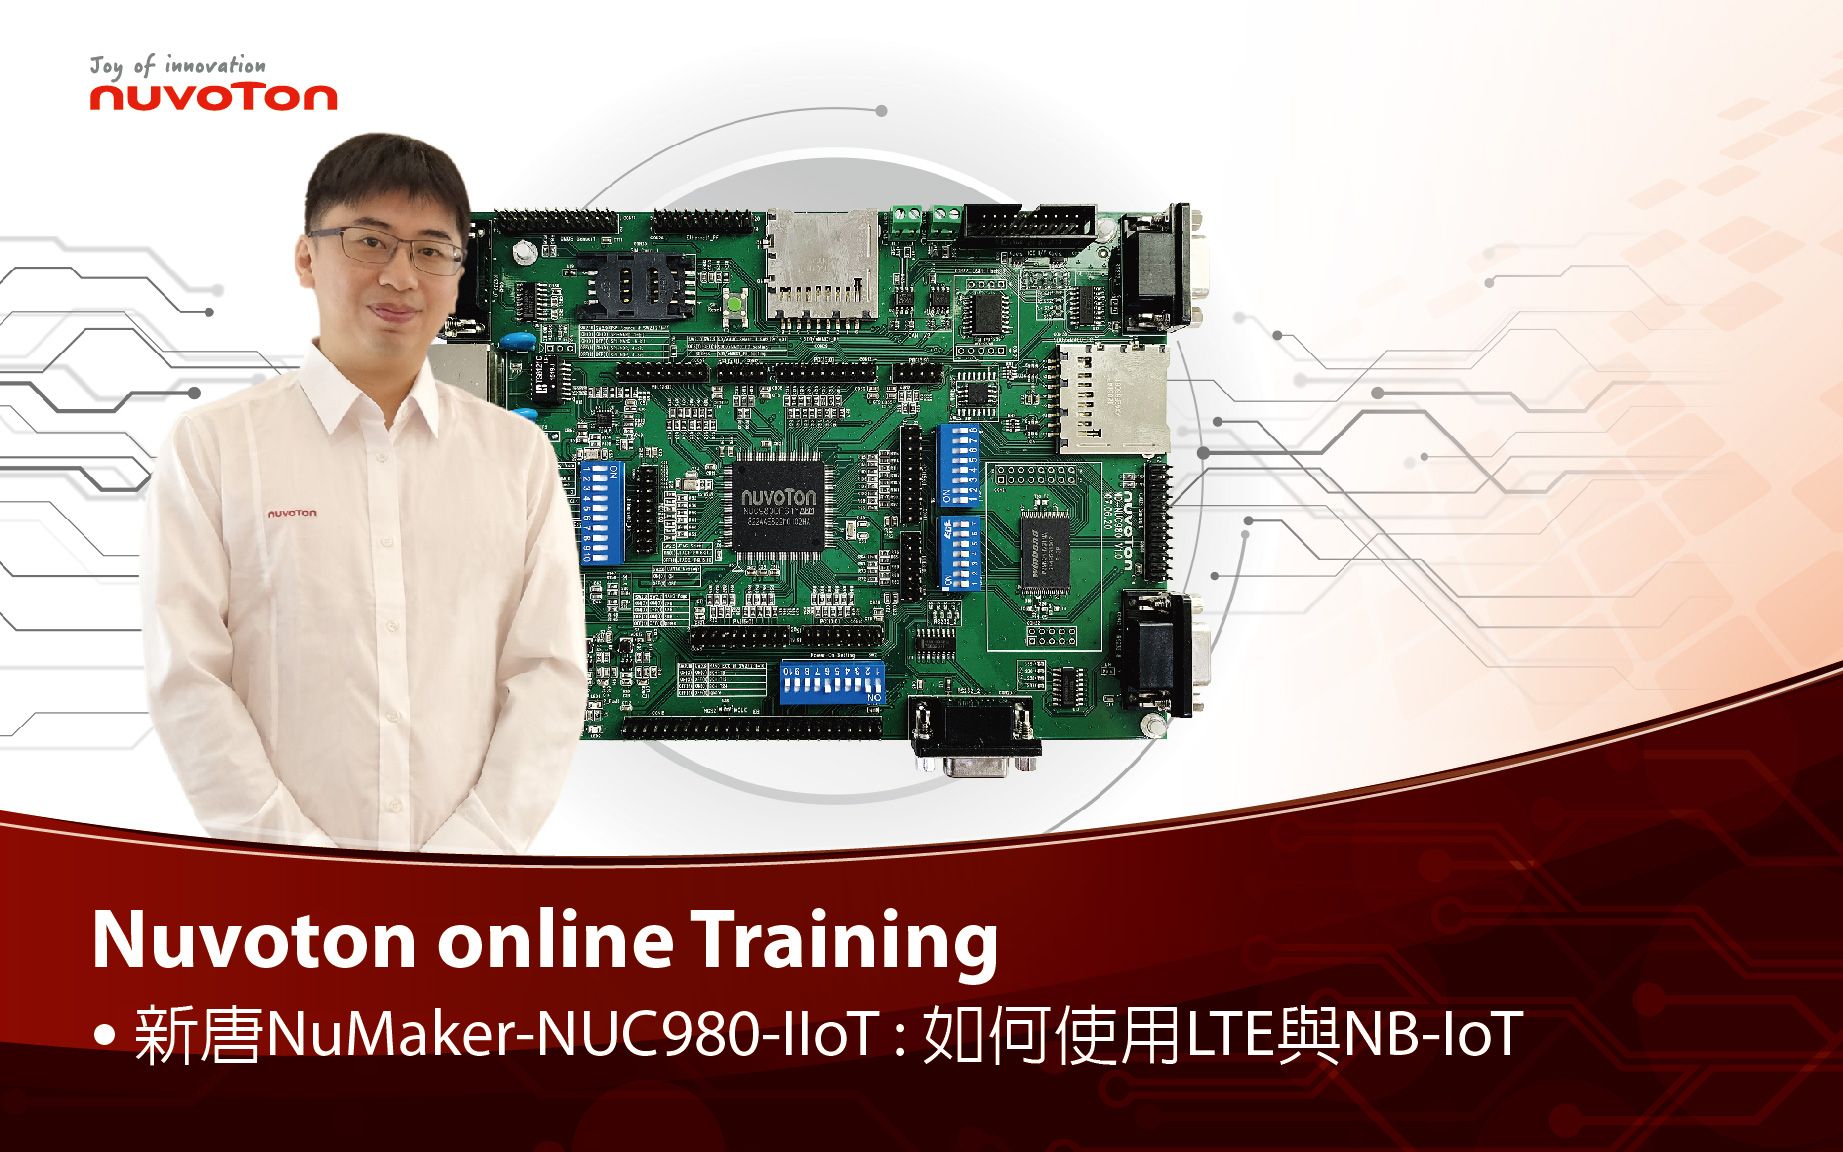
培训
学习
视频长度 - 4:50
以新唐 NuMaker NUC980 IIoT 为平台,使用 Linux 进行开发,学习开发各式功能,观看本片,您将学会在 NuMaker NUC980 IIoT 上使用 LTE 与 NB-IoT 连线。
#Training #Learning #Basic #zh-Hans
-
更多产品资讯,请至新唐科技网站 https://www.nuvoton.com/?utm_source=bb&utm_medium=video&utm_campaign=all
购买管道:https://tmall.nuvoton.com/
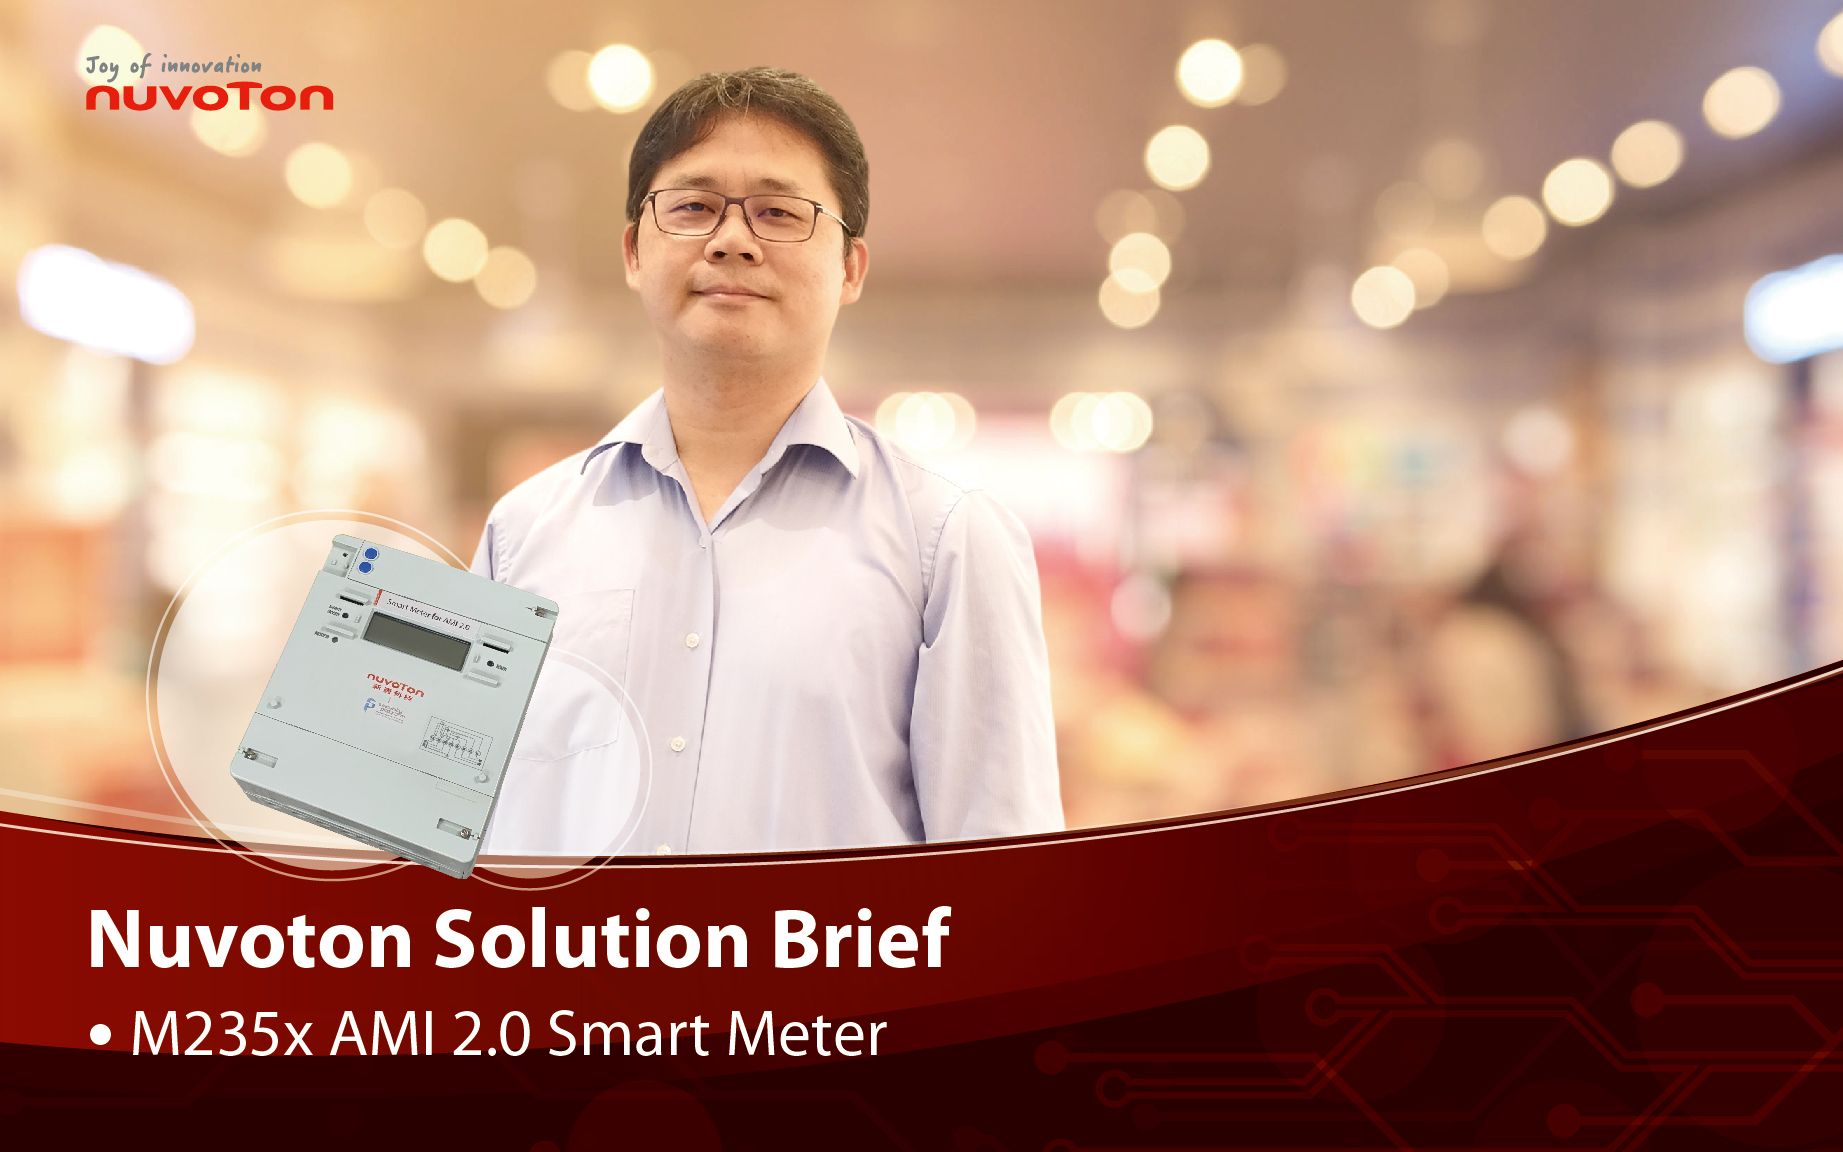
前瞻应用
学习
视频长度 - 3:29
本短片介绍了可支持 AMI 2.0,IR46 国际标准的智能电表设计。该设计即将在一大型电力公司所服务的供电区域进行大规模部建。同时也透过手机 APP 演示了在线自动读表的功能。
#Application #Learning #Intermediate #zh-Hans
-
更多产品资讯,请至新唐科技网站 https://www.nuvoton.com/?utm_source=bb&utm_medium=video&utm_campaign=all
购买管道:https://tmall.nuvoton.com/
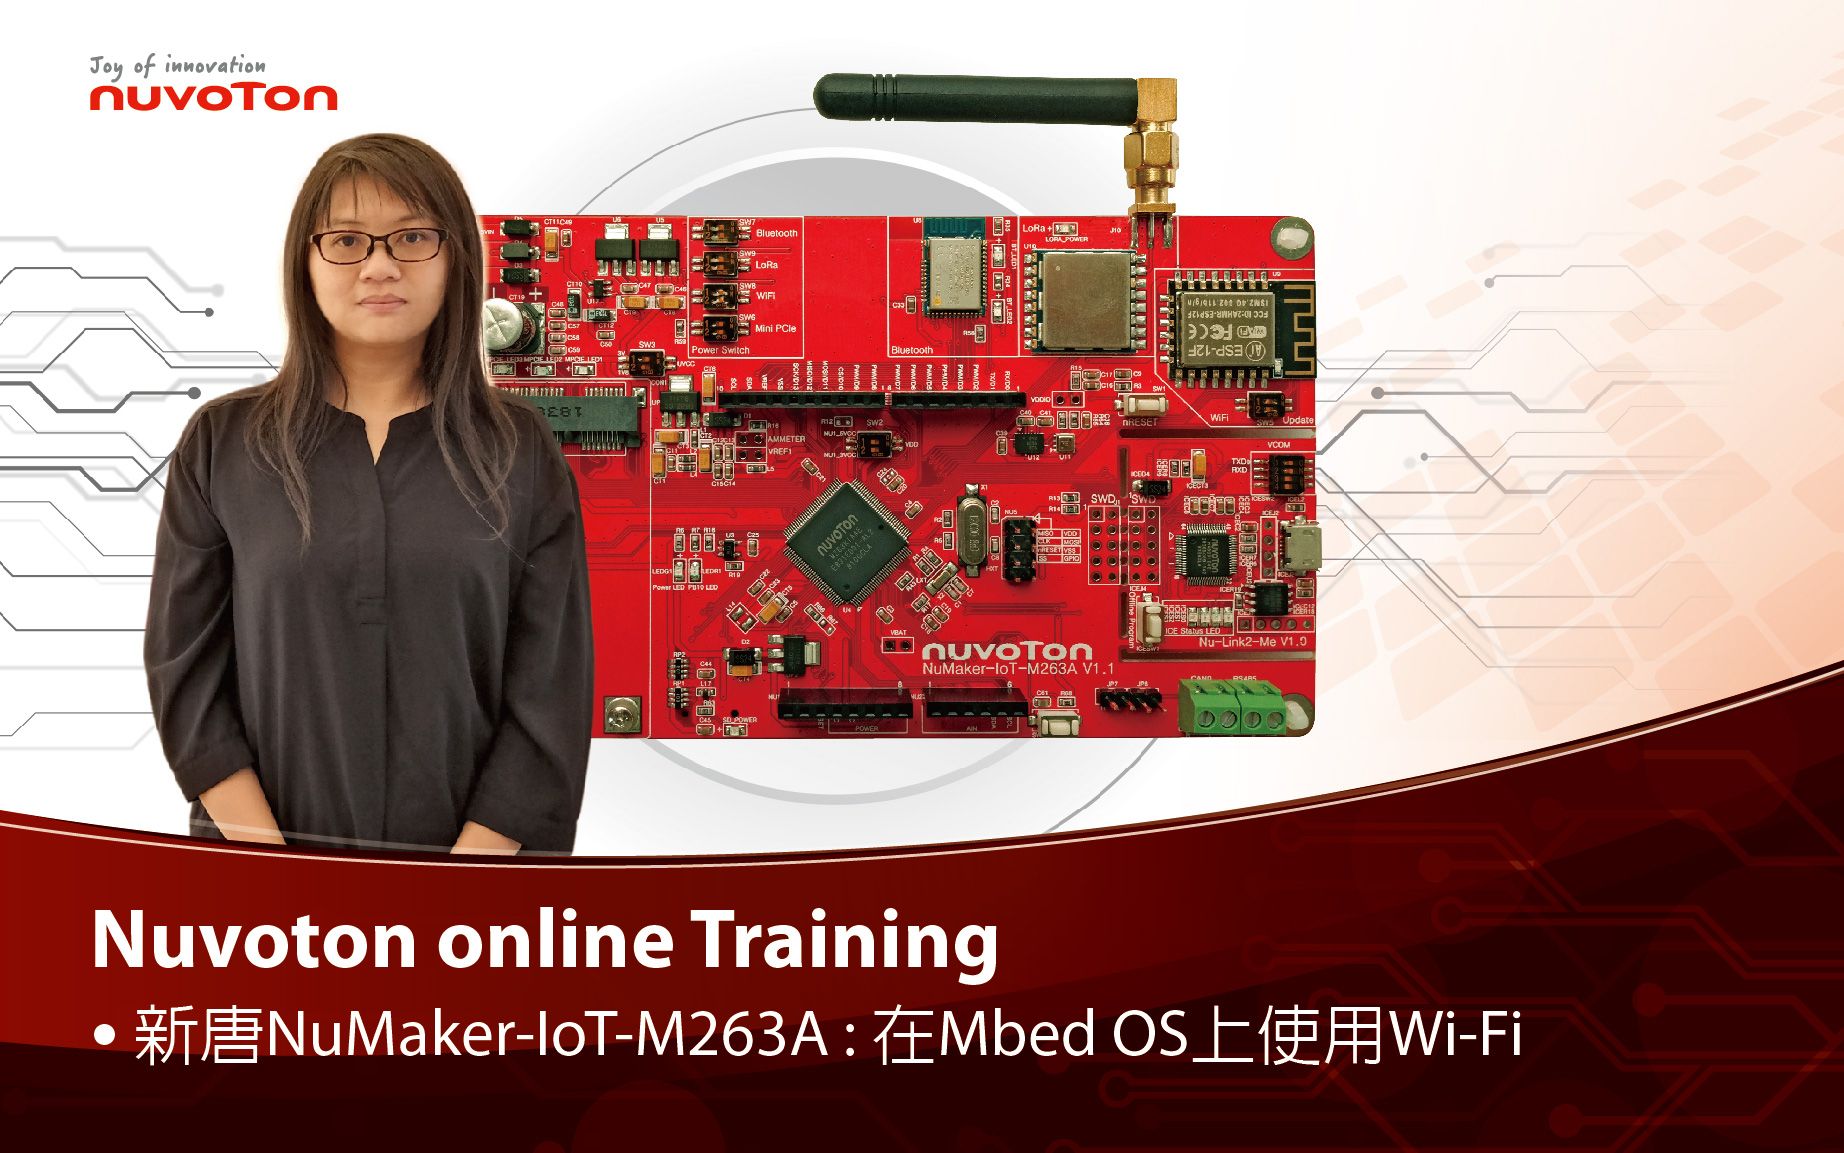
视频长度 - 4:0
以新唐 NuMaker-IoT-M263A 与 MbedOS 为平台进行开发,学习开发各式功能。观看本片,您将学会如何 MbedOS 范例程序使用 Wi-Fi 连接到服务器并读取回传数据。
-
更多产品资讯,请至新唐科技网站 https://www.nuvoton.com/?utm_source=bb&utm_medium=video&utm_campaign=all
购买管道:https://tmall.nuvoton.com/
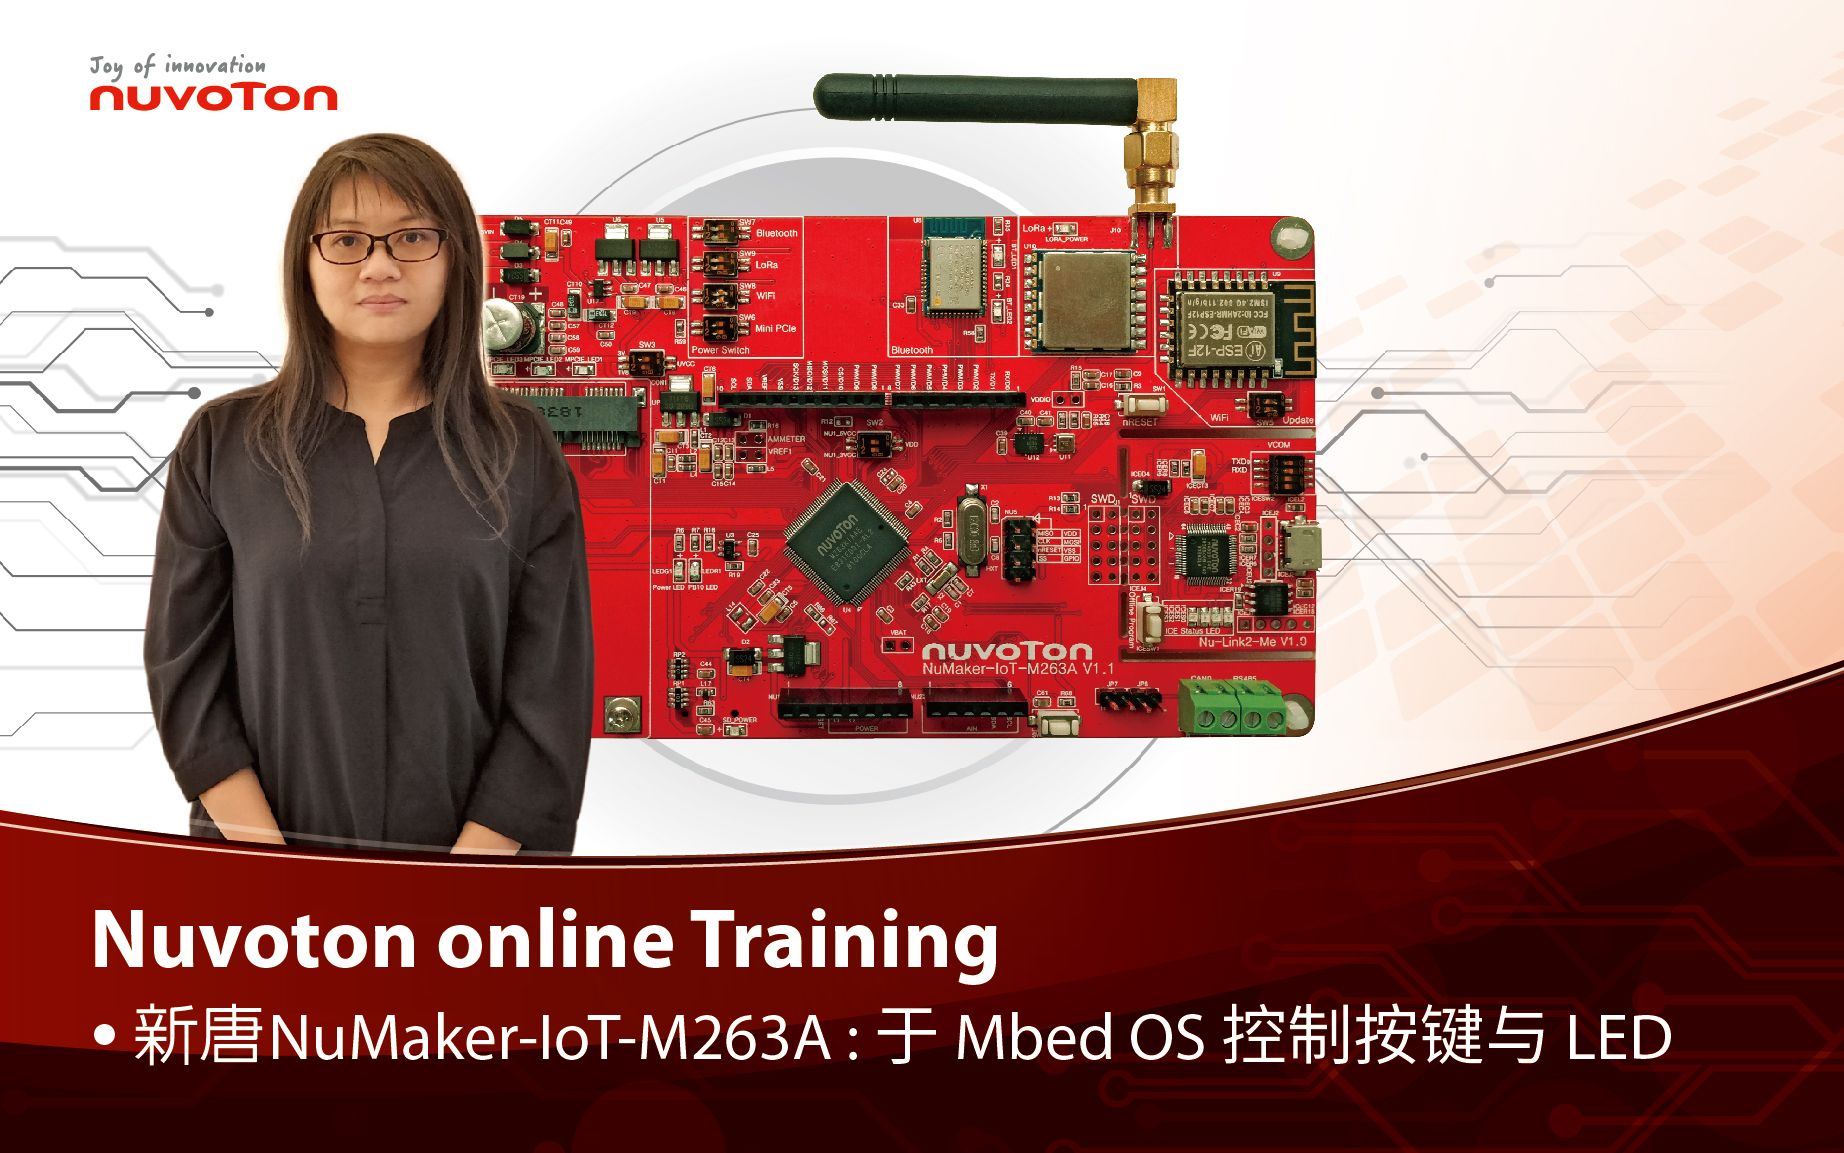
视频长度 - 3:0
以新唐 NuMaker-IoT-M263A 为平台,使用 Mbed OS 进行开发,学习开发各式功能。观看本片,您将学会如何以 Mbed OS 范例程序完成按键开关 LED 功能。
-
更多产品资讯,请至新唐科技网站 https://www.nuvoton.com/?utm_source=bb&utm_medium=video&utm_campaign=all
购买管道:https://tmall.nuvoton.com/
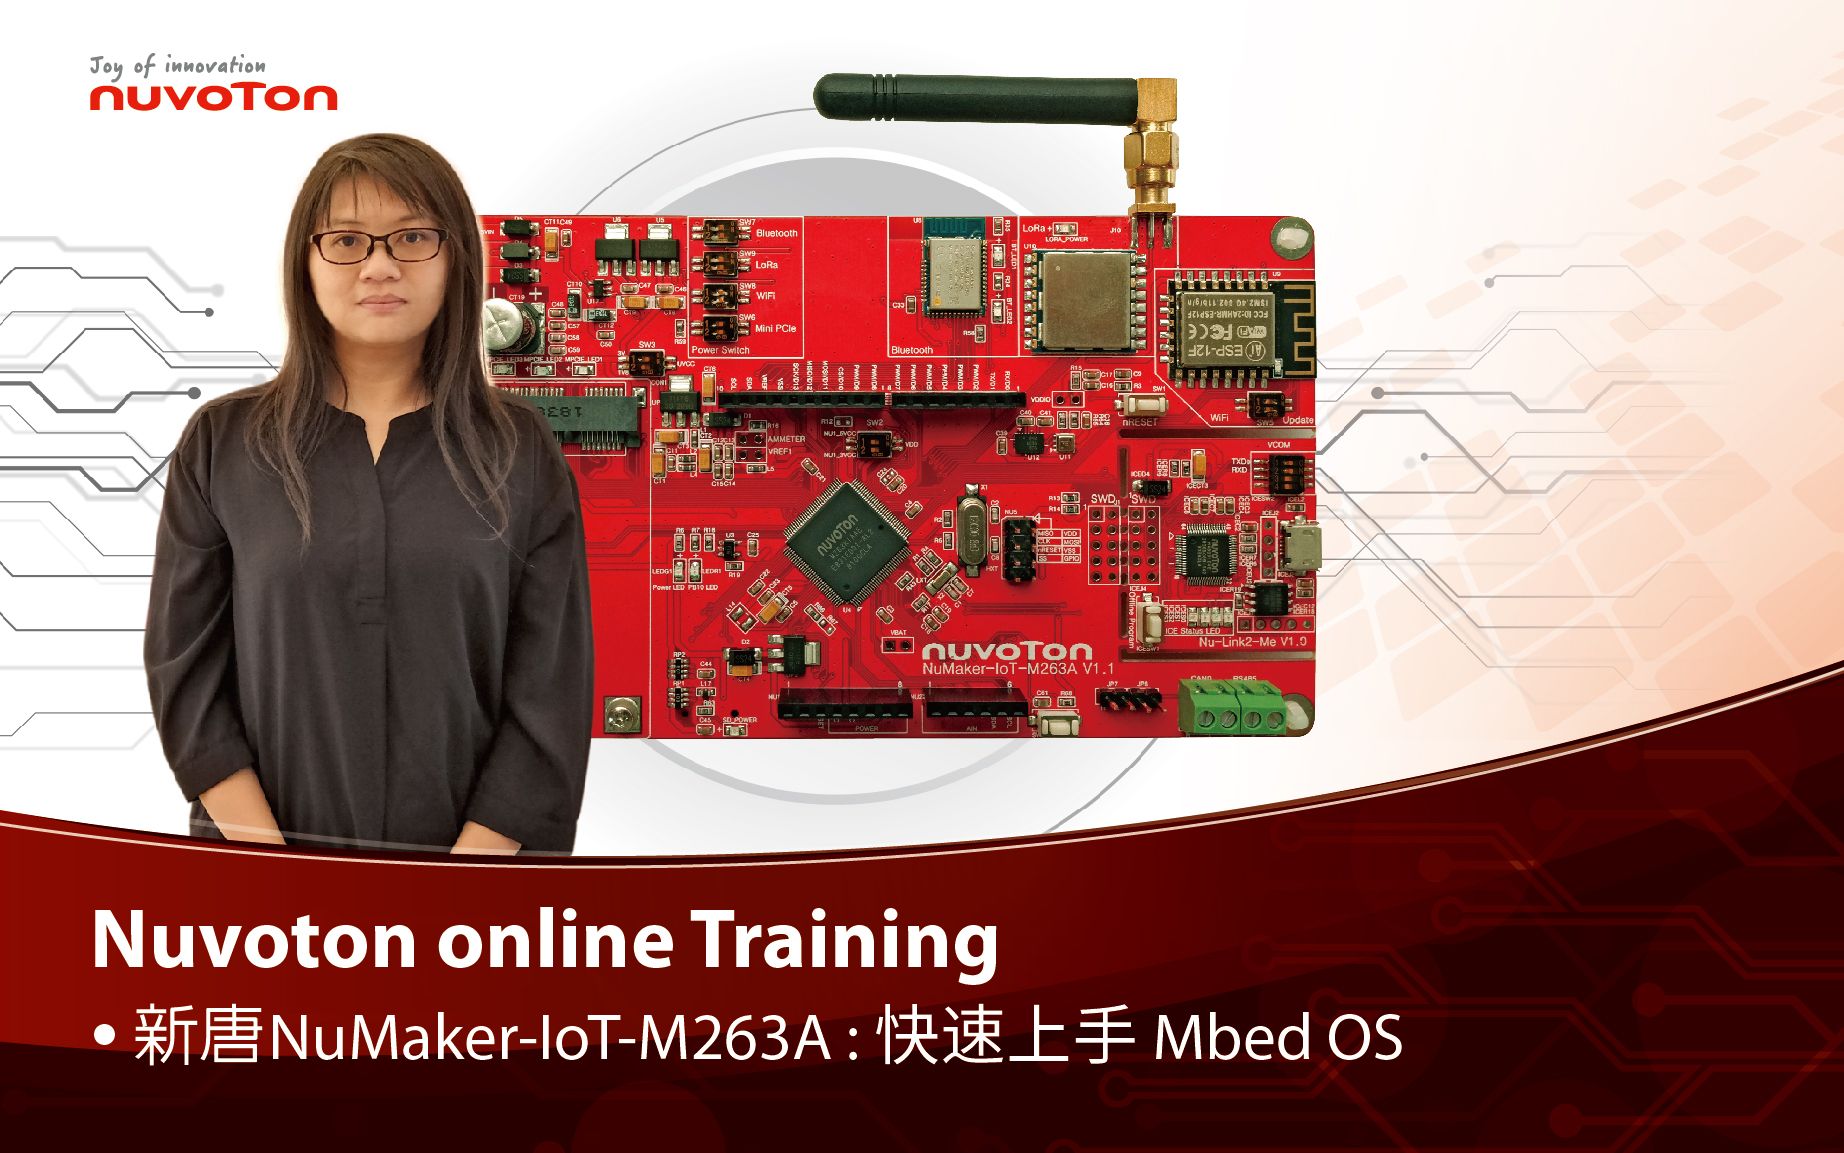
视频长度 - 5:21
以新唐 NuMaker-IoT-M263A 与 MbedOS,学习如何使用范例程序,执行与显示 Hello World!
-
更多产品资讯,请至新唐科技网站 https://www.nuvoton.com/?utm_source=bb&utm_medium=video&utm_campaign=all
购买管道:https://tmall.nuvoton.com/
 粤公网安备 44030502010001号