搜寻
搜寻结果
搜寻IO ,
找到 10 笔
- 排序
- 依时间
- 依热门度


创新产品
前瞻应用
工具
学习
视频长度 - 2:18
让使用者快速了解 NuMaker-IIoT-NUC980G2D/G1D 开发板的关键特性与应用支持。
【更多开发板信息】
- NuMaker-IIoT-NUC980G1D:
https://www.nuvoton.com/products/iot-solution/iot-platform/numaker-iiot-nuc980g1d/index.html
- NuMaker-IIoT-NUC980G2D:
https://www.nuvoton.com/products/iot-solution/iot-platform/numaker-iiot-nuc980g2d/index.html
#NUC980 #MPU #ARM9 #Microprocessor #IIOT #NewEnergy #Gateway #NewEnergyGateway #EVChargingStations #EnergyManagementSystem #Basic #General #Product #Application #Tool #Learning #zh-Hans
-
更多产品资讯,请至新唐科技网站 https://www.nuvoton.com/?utm_source=bb&utm_medium=video&utm_campaign=all
点我购买:https://nuvoton.world.tmall.com/
联络我们:SalesSupport@nuvoton.com

创新产品
前瞻应用
工具
学习
视频长度 - 1:56
让使用者快速了解NuMaker-IIoT-NUC980G2/G1开发板的关键特性与应用支持。
【更多开发板信息】
- NuMaker-IIoT-NUC980G1:
https://www.nuvoton.com/products/iot-solution/iot-platform/numaker-iiot-nuc980g1/
- NuMaker-IIoT-NUC980G2:
https://www.nuvoton.com/products/iot-solution/iot-platform/numaker-iiot-nuc980g2/
#NUC980 #MPU #ARM9 #Microprocessor #IIOT #NewEnergy #Gateway #NewEnergyGateway #EVChargingStations #EnergyManagementSystem #Basic #General #Product #Application #Tool #Learning #zh-Hans
-
更多产品资讯,请至新唐科技网站 https://www.nuvoton.com/?utm_source=bb&utm_medium=video&utm_campaign=all
点我购买:https://nuvoton.world.tmall.com/
联络我们:SalesSupport@nuvoton.com
培训
学习
视频长度 - 8:5
本影片透过使用新唐 M031/M032 开发板来展示 GPIO 的示例代码。
其中包含示例代码的说明、代码的解说、与实际编译及下载范例程式的步骤示范,最后并展示 GPIO 示例代码运作的结果,让使用者能依照步骤轻松操作新唐的开发板与 GPIO 示例代码。
#zh-Hans #Training #Basic #Learning
-
开发版介绍、IDE 下载及烧录步骤可参考「新唐菜鸡带你入门 NuTool 新唐开发平台」:https://www.bilibili.com/video/BV1iL411W7ZX/
-
更多产品资讯,请至新唐科技网站 https://www.nuvoton.com/?utm_source=bb&utm_medium=video&utm_campaign=all
培训
学习
入門
视频长度 - 3:40
本影片主要介绍什么是 GPIO、GPIO 的特色、GPIO 的操作模式,以及 GPIO 的去抖动功能。
-
开发版介绍、IDE下载及烧录步骤可参考「新唐菜鸡带你入门 NuTool 新唐开发平台」:https://www.bilibili.com/video/BV1iL411W7ZX/
-
更多产品资讯,请至新唐科技网站 https://www.nuvoton.com/?utm_source=bb&utm_medium=video&utm_campaign=all
#zh-Hans #Training #Basic #Learning
培训
工具
学习
视频长度 - 1:51
本影片介绍在新唐 NuMicro M251/M252 系列开发板中,来执行范例程式。
-
更多产品资讯,请至新唐科技网站 https://www.nuvoton.com/?utm_source=bb&utm_medium=video&utm_campaign=all
购买管道:https://tmall.nuvoton.com/
联络我们: SalesSupport@nuvoton.com
#Tool #Training #Intermediate #Learning #zh-Hans
培训
工具
学习
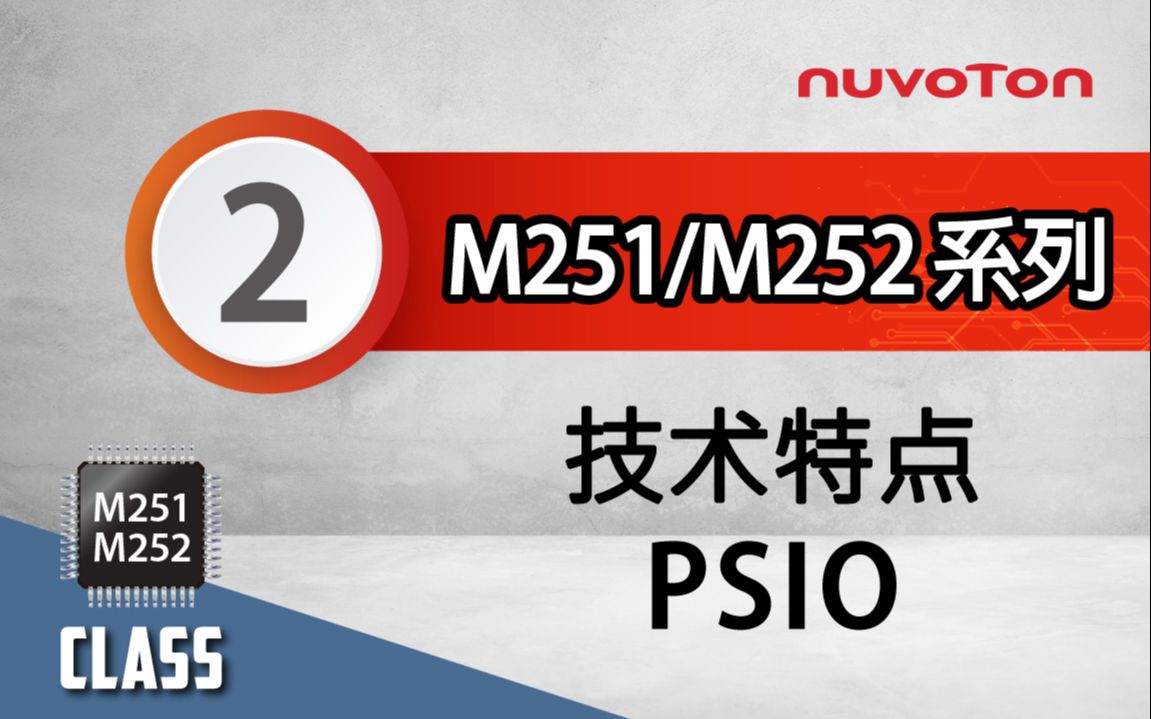
视频长度 - 3:34
NuMicro M251/M252 系列的可编程串行I/O,可以用来产生任意的波型,以达成特定串行通讯协定的资料传送与接收,且使用PSIO简化操作的复杂度也可减少CPU的负担,也可以将省下的CPU效能用在其他地方。
-
更多资讯,请至新唐科技 https://www.nuvoton.com/?utm_source=bb&utm_medium=video&utm_campaign=all
联络我们: SalesSupport@nuvoton.com
#Tool #Training #Intermediate #Learning #zh-Hans
培训
学习
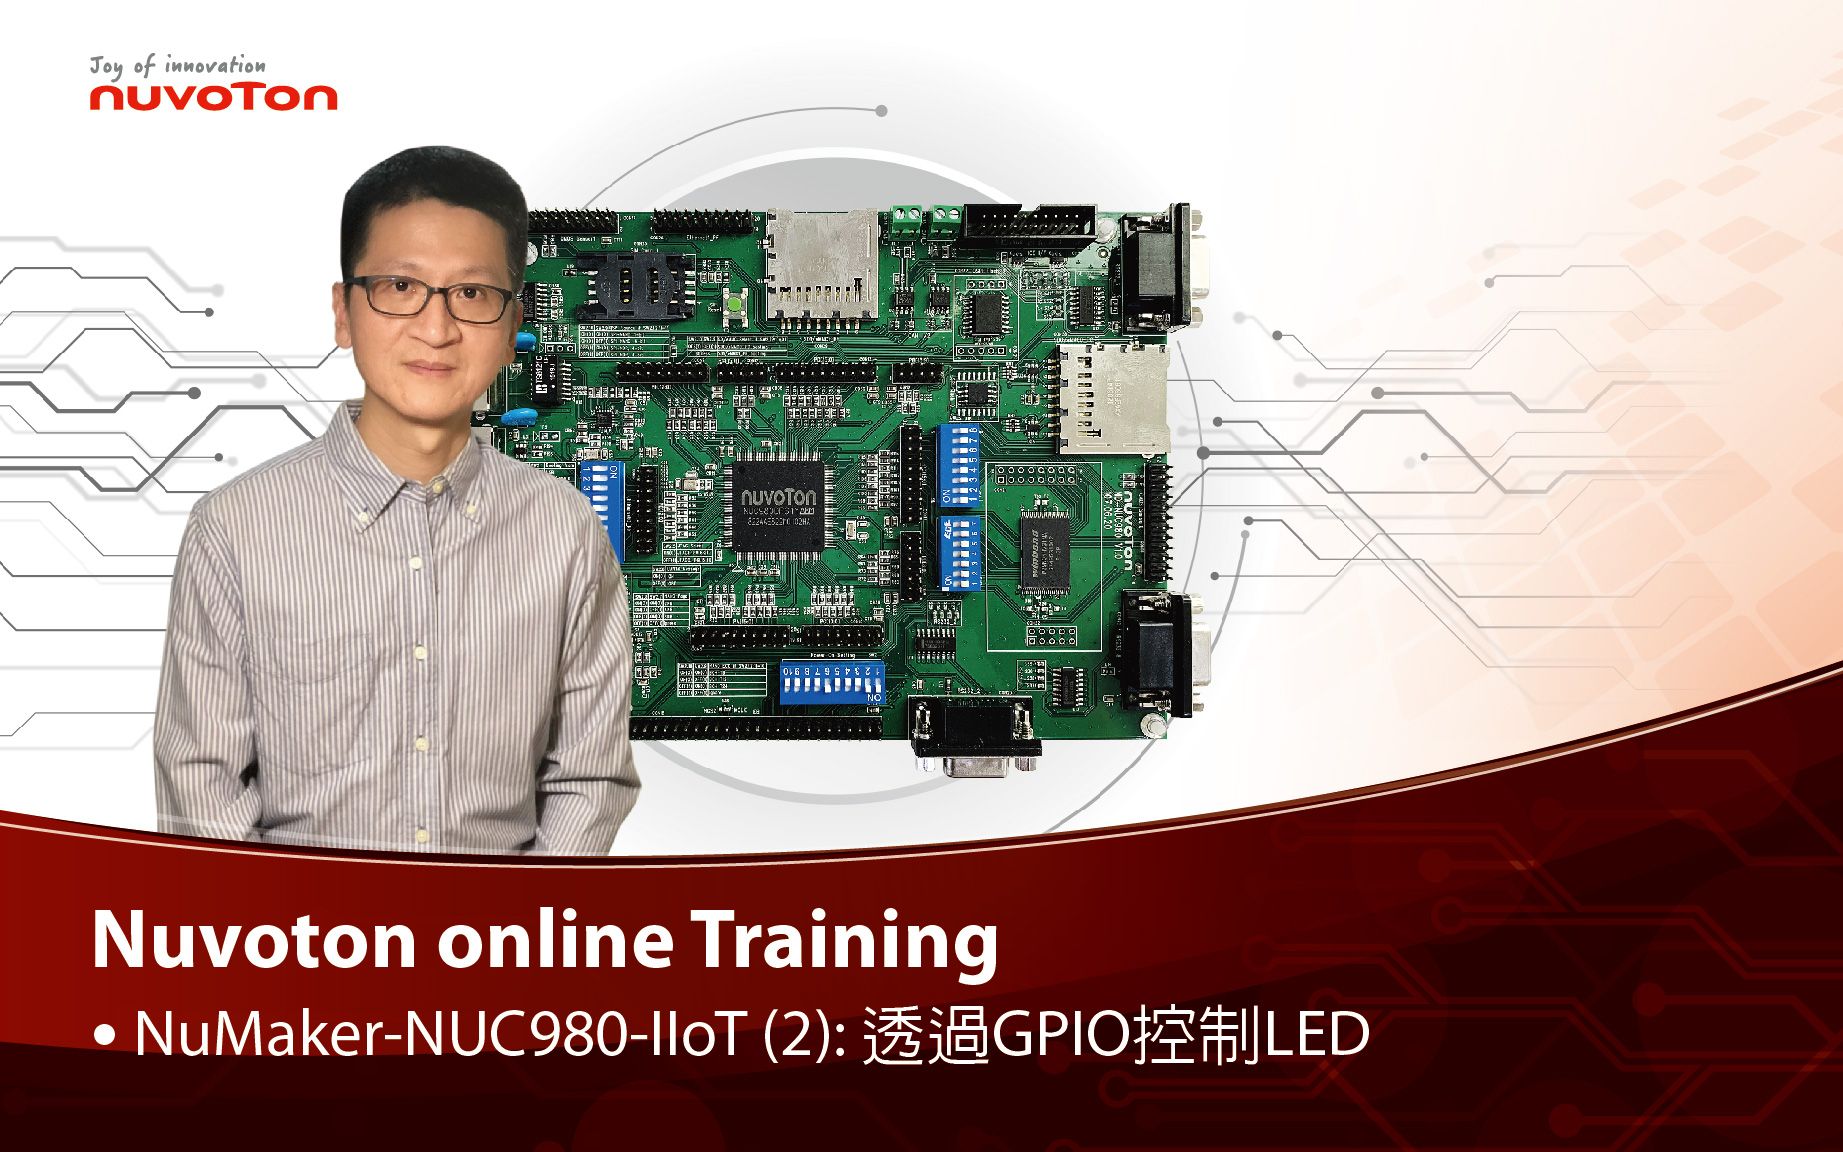
视频长度 - 3:27
以新唐 NuMaker NUC980 IIoT 为平台,使用 Linux 进行开发,学习开发各式功能,观看本片,您将学会如何控制 GPIO 使 LED 闪烁。
#Training #Learning #Basic #zh-Hans
-
更多产品资讯,请至新唐科技网站 https://www.nuvoton.com/?utm_source=bb&utm_medium=video&utm_campaign=all
购买管道:https://tmall.nuvoton.com/
 粤公网安备 44030502010001号