NSR 智能音频控制与 GPIO 扩展解决方案
-
 创新产品 前瞻应用 网络研讨会 视频长度 - 51:56汽车产业正迎来新四化趋势,即“电动化,智能化,网联化,共享化”。在这个背景下,汽车照明正逐步实现智能化和数字化,迈向从“功能”到“智能”的升级。2024新唐科技智能车交互灯光解决方案在线研讨会将展示新唐微控制器与摄像头、导航、雷达技术的融合,使车灯能够通过交互图像、光影变幻等方式传递信息,从而增强驾驶体验,提升驾乘舒适性。 透过本次研讨会,您将会获得: 新唐科技车用产品介绍以及车用平台应用方案 1.Arm® Cortex®-M0 M0A23 系列:通过车规AEC-Q100 Grade 1认证,针对小尺寸封装提供高度灵活性,可任意配置引脚的数字周边,丰富的模拟接口以及工作温度可达 125 ℃ 2.Arm® Cortex®-M0 NUC131 系列:通过车规AEC-Q100 Grade 2认证,宽电压工作范围 2.5V 至 5.5V , 工作温度:- 40 ℃ 至105 ℃ , 内建 22.1184 MHz 高精度晶振 3.Arm® Cortex®-M4F M463系列:M463 CAN-FD/USB HS 系列运行频率高达 200 MHz,提供 1.7V 至 3.6V 的宽工作电压,内建 DSP 指令集和单精度浮点运算单元 (FPU),-40°C 至 125°C 的宽工作温度 4.方案介绍: 包含BCM 车身控制模块/ ADAS 先进驾驶辅助/ HUD 抬头显示器/车载信息娱乐 灯光控制产品介绍及方案介绍 1.Arm® Cortex®-M23 NUC1262/1263 系列:高达 6 路 LED 灯条控制接口 (LED Light Strip Interface, LLSI);提供高达 24 路 PWM,运行速度最高达 144 MHz,可提供高精准度控制以及 USB2.0 全速装置。 2.Arm® Cortex®-M4F M460系列:M460 USB HS 系列运行频率高达 200 MHz,内建 DSP 指令集和单精度浮点运算单元 (FPU),提供高达11组SPI及2x QSPI等多种通讯界面可以做各种灯光控制 3.方案介绍:包含Mini LED - 屏幕背光控制/RGB LED - 车内外多种灯控/水冷风扇控制 讲师:产品经理 谢欣志 (Chris Hsieh) M0A23产品信息:https://www.nuvoton.com/products/microcontrollers/arm-cortex-m0-mcus/m0a23-series/ NUC131产品信息:https://www.nuvoton.com/products/microcontrollers/arm-cortex-m0-mcus/nuc131-nuc1311-can-series/ M463产品信息:https://www.nuvoton.com/products/microcontrollers/arm-cortex-m4-mcus/m463-can-fd-usb-hs-series/ NUC1262产品信息:https://www.nuvoton.com/products/microcontrollers/arm-cortex-m23-mcus/nuc1262-series/ NUC1263产品信息:https://www.nuvoton.com/products/microcontrollers/arm-cortex-m23-mcus/nuc1263-series/ 新唐汽车相关应用:https://www.nuvoton.com/applications/automotive/ #Cortex-M4F #M463 #M433 #Cortex-M23 #NUC1262/1263 #Cortex-M0 #M0A23 #NUC131 #LED #Lighting #Automotive #LocalDimming #ISD solution #CoolingFanControl #AEC-Q100 #General #Product #Webinar #zh-Hans #Application - 更多产品资讯,请至新唐科技网站 https://www.nuvoton.com/?utm_source=bb&utm_medium=video&utm_campaign=all 点我购买:https://nuvoton.world.tmall.com/ 联络我们:SalesSupport@nuvoton.com
 -
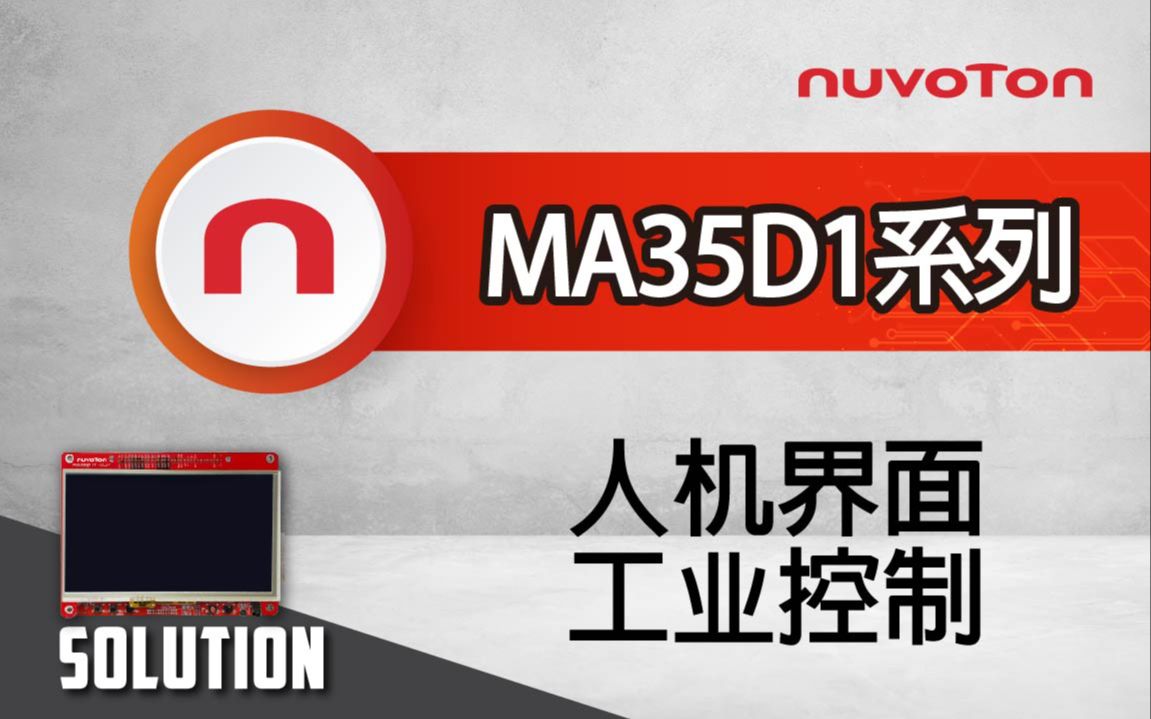 创新产品 前瞻应用 学习 视频长度 - 4:32MA35D1 整合应用使用六个不同的应用范例,说明 MA35D1 的功能特色: 1. Video Playback 高清影片输出 2. ML People Counting 人数计算 3. 2D Accelerator 2D 硬体加速范例 4. Data Security 透过 OP-TEE 提高资料安全性 5. KWS by RTP M4 使用 MA35 内建的 M4 执行关键字检测 6. VoIP 基于 SIP 协定的网路视讯范例 影片将依序介绍范例使用到的资源以及操作细节。 #HMI #IndustrialControl #Application #Linux #MPU #MA35D1 #NuMicro #General #Product #Learning #zh-Hans - 更多产品资讯,请至新唐科技网站 https://www.nuvoton.com/?utm_source=bb&utm_medium=video&utm_campaign=all
 -
 培训 学习 视频长度 - 8:5本影片透过使用新唐 M031/M032 开发板来展示 GPIO 的示例代码。 其中包含示例代码的说明、代码的解说、与实际编译及下载范例程式的步骤示范,最后并展示 GPIO 示例代码运作的结果,让使用者能依照步骤轻松操作新唐的开发板与 GPIO 示例代码。 #zh-Hans #Training #Basic #Learning - 开发版介绍、IDE 下载及烧录步骤可参考「新唐菜鸡带你入门 NuTool 新唐开发平台」:https://www.bilibili.com/video/BV1iL411W7ZX/ - 更多产品资讯,请至新唐科技网站 https://www.nuvoton.com/?utm_source=bb&utm_medium=video&utm_campaign=all
 -
 培训 学习 视频长度 - 4:6新唐NuMicro 微控制器家族ADC 范例程序介绍-演示如何透过Bandgap来反推外部电池电压,适用于电池供电系统中电量监控之应用情境。 - 开发版介绍、IDE下载及烧录步骤可参考「新唐菜鸡带你入门 NuTool 新唐开发平台」:https://www.bilibili.com/video/BV1iL411W7ZX/ - 更多产品资讯,请至新唐科技网站 https://www.nuvoton.com/?utm_source=bb&utm_medium=video&utm_campaign=all #zh-Hans #Training #Basic #Learning
 -
 培训 学习 入門 视频长度 - 3:40本影片主要介绍什么是 GPIO、GPIO 的特色、GPIO 的操作模式,以及 GPIO 的去抖动功能。 - 开发版介绍、IDE下载及烧录步骤可参考「新唐菜鸡带你入门 NuTool 新唐开发平台」:https://www.bilibili.com/video/BV1iL411W7ZX/ - 更多产品资讯,请至新唐科技网站 https://www.nuvoton.com/?utm_source=bb&utm_medium=video&utm_campaign=all #zh-Hans #Training #Basic #Learning
 -
 前瞻应用 学习 视频长度 - 3:45简短说明新唐M235x IoT Security MCU系列产品的基本功能与安全特色 , 并实际展示新唐基于M2354系列开发的Secure Smart Meter搭配手机上开发的APP所显示的实时读表数据 #Application #Learning #Intermediate #zh-Hans - 更多产品资讯,请至新唐科技网站 https://www.nuvoton.com/?utm_source=bb&utm_medium=video&utm_campaign=all
 -
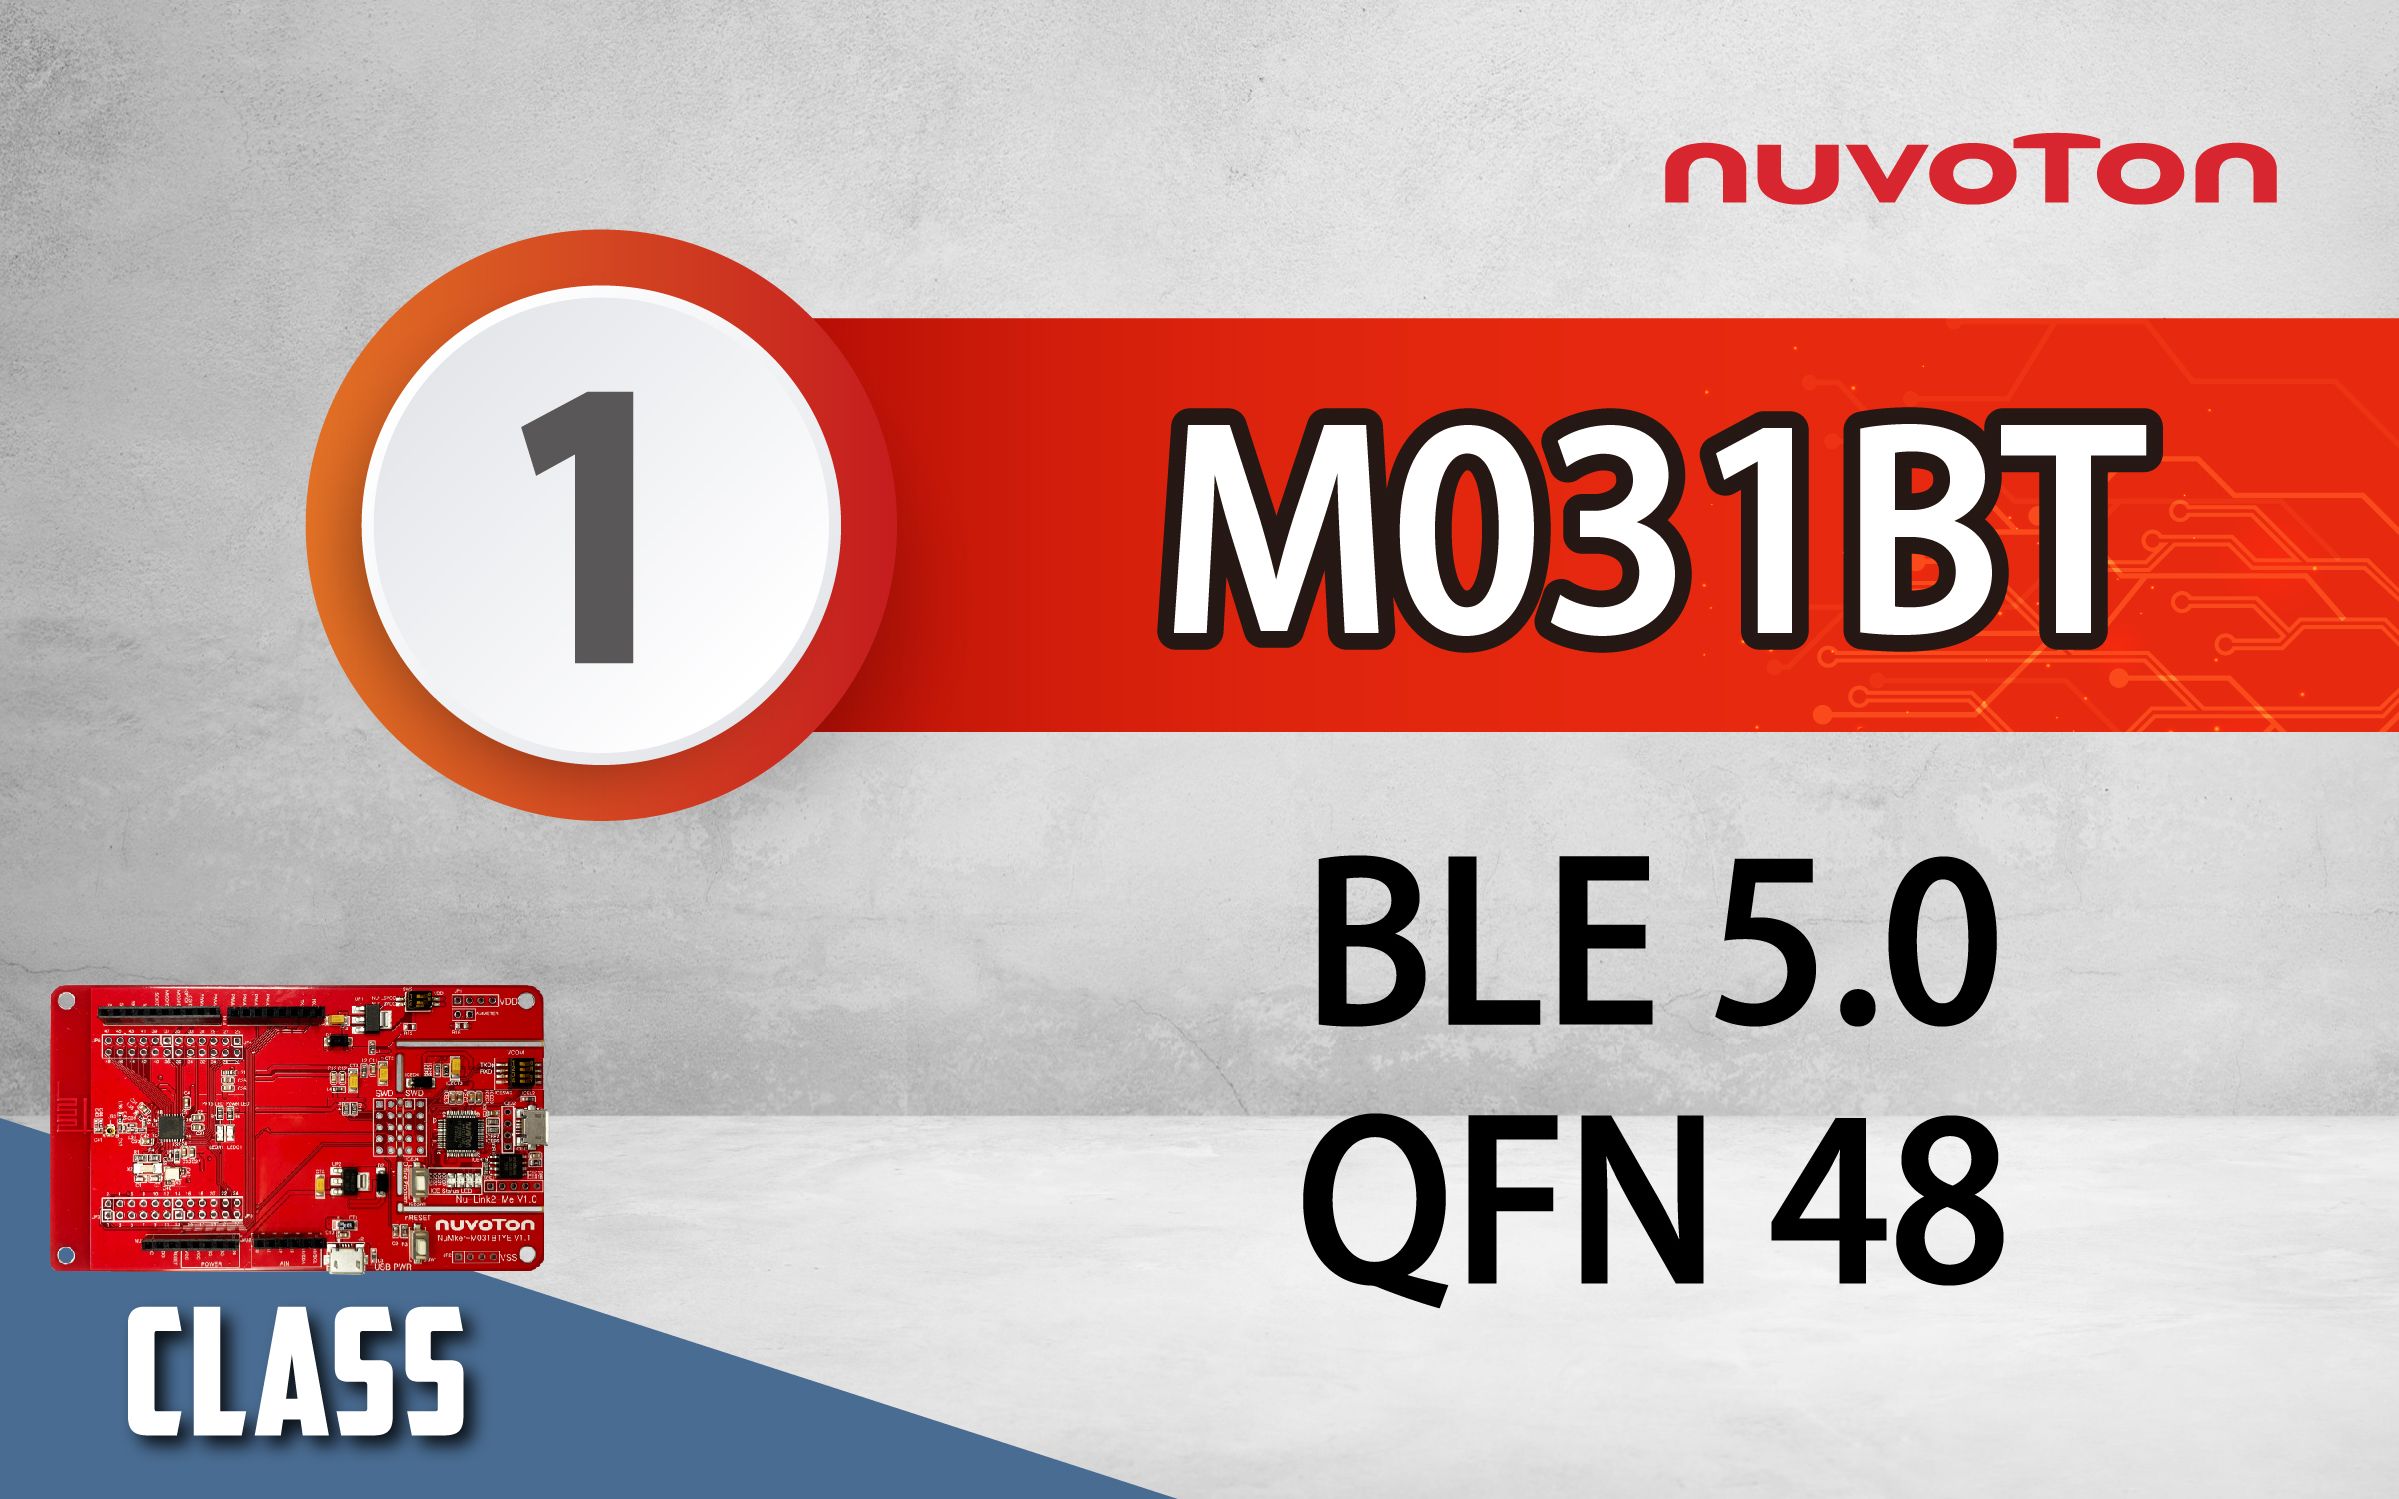 创新产品 学习 视频长度 - 10:23新唐 NuMicro M031BT 双模蓝牙低功耗 5.0 (Bluetooth Low Energy, BLE5.0) 提供了 BLE UART 透传的展示,并实际操作如何使用 AT 命令模式来作设定与使用数据传输模式来收发资料。 #Product #Basic #Learning #zh-Hans - 更多产品资讯,请至新唐科技网站 https://www.nuvoton.com/?utm_source=bb&utm_medium=video&utm_campaign=all
 -
 培训 工具 学习 视频长度 - 4:15以新唐 NuMaker-IoT-M487 与 AliOS Things 为平台进行开发,学习开发各式功能。观看本片,您将学会如何以 AliOS Things 范例程式输出 Hello World 与按键开关 LED 功能。 - 更多产品资讯,请至新唐科技网站 https://www.nuvoton.com/?utm_source=bb&utm_medium=video&utm_campaign=all 购买管道:https://tmall.nuvoton.com/ #Tool #Training #Learning #Intermediate #zh-Hans
 -
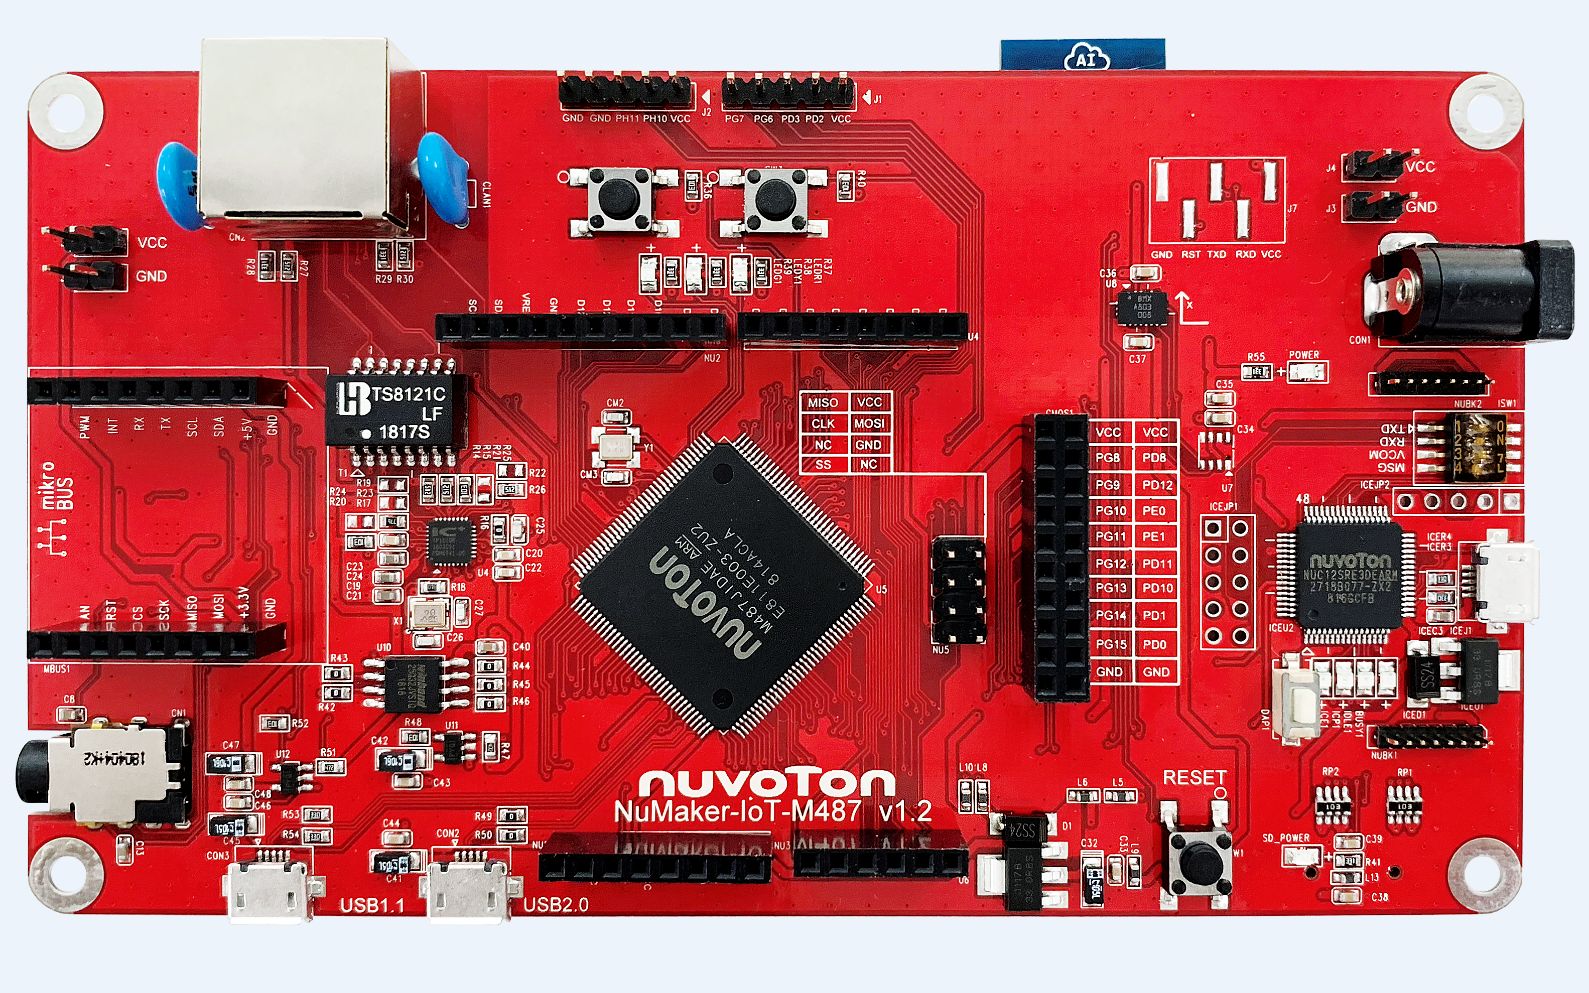
 培训 工具 学习 视频长度 - 2:53以新唐 NuMaker-IoT-M487 为平台,使用 Mbed OS 进行开发,学习开发各式功能。观看本片,您将学会如何以 Mbed OS 范例程式完成按键开关 LED 功能。 - 更多产品资讯,请至新唐科技网站 https://www.nuvoton.com/?utm_source=bb&utm_medium=video&utm_campaign=all 购买管道:https://tmall.nuvoton.com/ #Tool #Training #Learning #Intermediate #zh-Hans
 -
 培训 学习 视频长度 - 3:27以新唐 NuMaker NUC980 IIoT 为平台,使用 Linux 进行开发,学习开发各式功能,观看本片,您将学会如何控制 GPIO 使 LED 闪烁。 #Training #Learning #Basic #zh-Hans - 更多产品资讯,请至新唐科技网站 https://www.nuvoton.com/?utm_source=bb&utm_medium=video&utm_campaign=all 购买管道:https://tmall.nuvoton.com/
 -
 视频长度 - 3:12本方案使用 NuMicro M480 高效能 M4 微控制器,搭配 emWin library 进行 GUI 图像化人机介面设计,将结果显示在 2” OLED 上。 - 更多产品资讯,请至新唐科技网站 https://www.nuvoton.com/?utm_source=bb&utm_medium=video&utm_campaign=all 购买管道:https://tmall.nuvoton.com/
 -
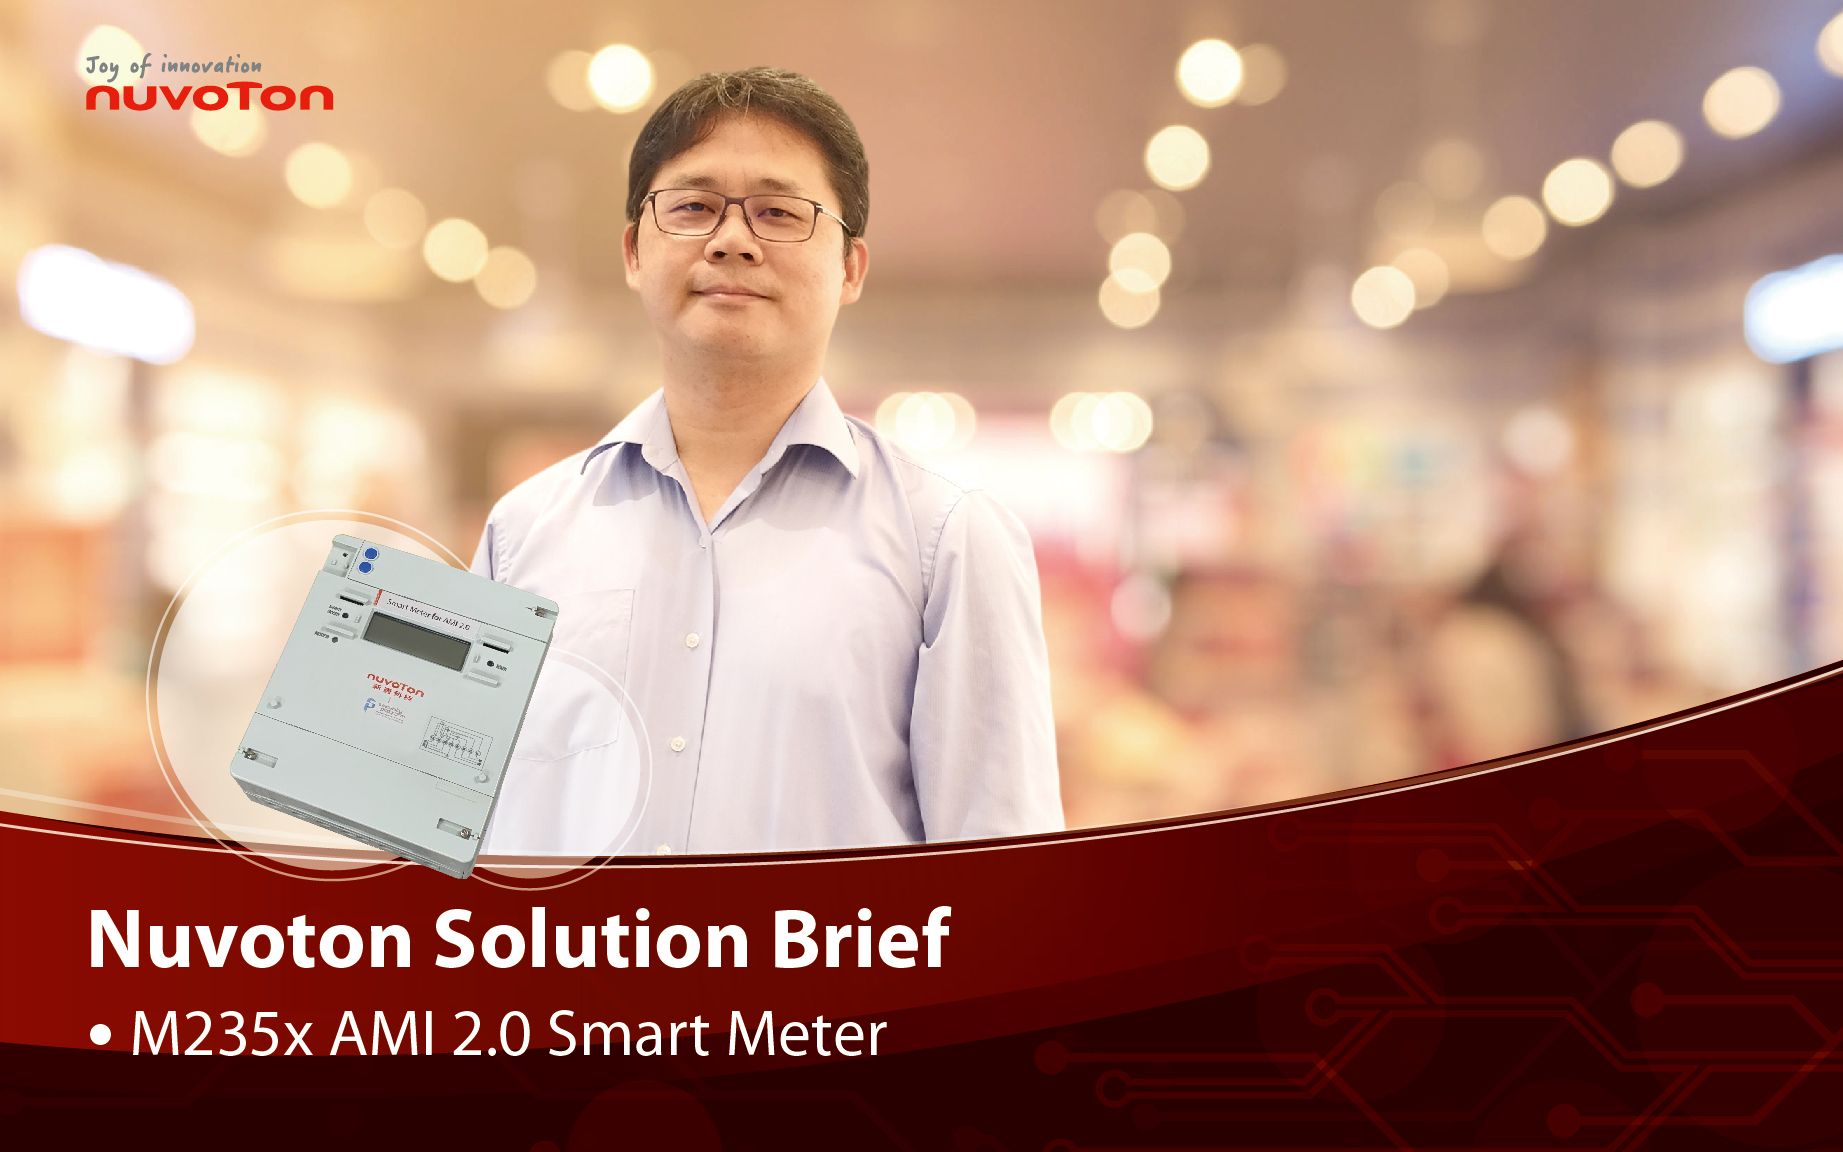 前瞻应用 学习 视频长度 - 3:29本短片介绍了可支持 AMI 2.0,IR46 国际标准的智能电表设计。该设计即将在一大型电力公司所服务的供电区域进行大规模部建。同时也透过手机 APP 演示了在线自动读表的功能。 #Application #Learning #Intermediate #zh-Hans - 更多产品资讯,请至新唐科技网站 https://www.nuvoton.com/?utm_source=bb&utm_medium=video&utm_campaign=all 购买管道:https://tmall.nuvoton.com/
 粤公网安备 44030502010001号